Rate this article :
5/5 | 1 opinion
This article was useful to you ?
Yes
No
Vous avez noté 0 étoile(s)
Sommaire
Procédure
Divi builder is included in ourWordpress web hosting packages. If you would like support for DIVI builder, you must subscribe to a licence directly on the Elegent theme Divi website.
LWS offers 3 premium plugins from Elegant Themes (Divi, Bloom and Monarch). These are regularly updated. Once you are an LWS customer, you will have free access to these plugins by choosing the 'Divi Builder' distribution when installing the Wordpress CMS with our Auto-Installer.
If you have a cPanel package or have already installed Wordpress with this distribution, but do not have access to all the themes or updates, please let us know by giving us the access details for the administration area of your Wordpress site so that a technician can update the licence.
Please note: you will need to take out an Elegant Themes licence to benefit from support. LWS does not provide support for these products.
The Divi Social Networking Module allows you to create icon-based links to your online social profiles, such as Facebook, Twitter and Google+.
These icons are integrated into the theme, in Divi's own style using Elegant Icons, which makes them preferable to using third-party plugins. You can add links to several social profiles in each module, but you can also add the module anywhere on the page.
Before you can add a social networking module to your page, you must first switch to Divi Builder. Once you've installed the Divi theme on your website, you'll notice a Use Divi Builder button above the publishing editor every time you create a new page.
Click this button to activate Divi Builder and access all Divi Builder modules.
Then click on the Use Visual Builder button to launch the generator in visual mode. You can also click this button while browsing your website in the foreground if you are logged into your WordPress dashboard.
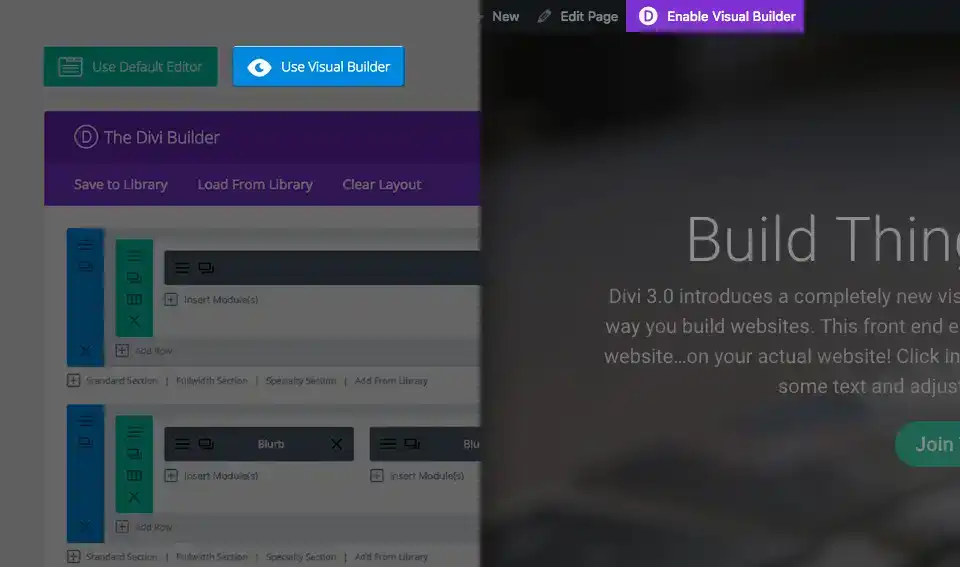
Once you have entered Visual Builder, you can click on the grey"+" button to add a new module to your page. New modules can only be added within rows. If you are starting a new page, don't forget to add a line to it first.
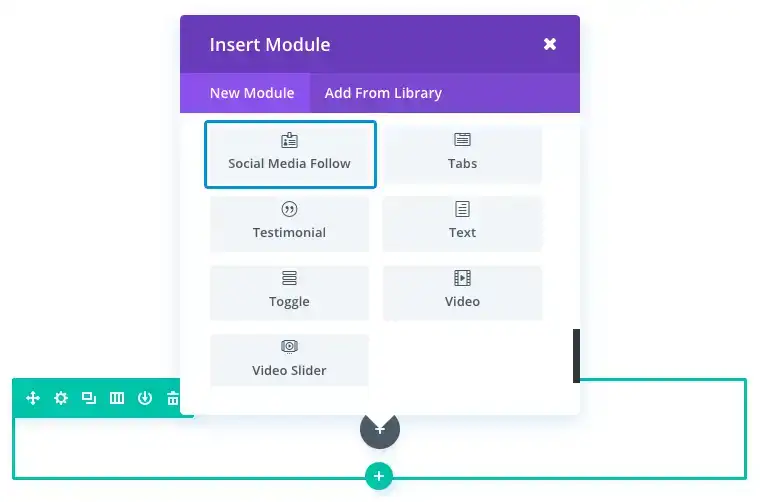
Locate the tab module in the list of modules and click on it to add it to your page. Once the module has been added, you will be greeted by a list of options for the module. These options are separated into three main groups: Content, Style and Advanced.
The contact page of a website is the ideal place to present your online social profiles. It gives users more opportunities to stay connected and promote your blog or business. For this example, I'm going to show you how to add social network icons to match the current design of a contact page.
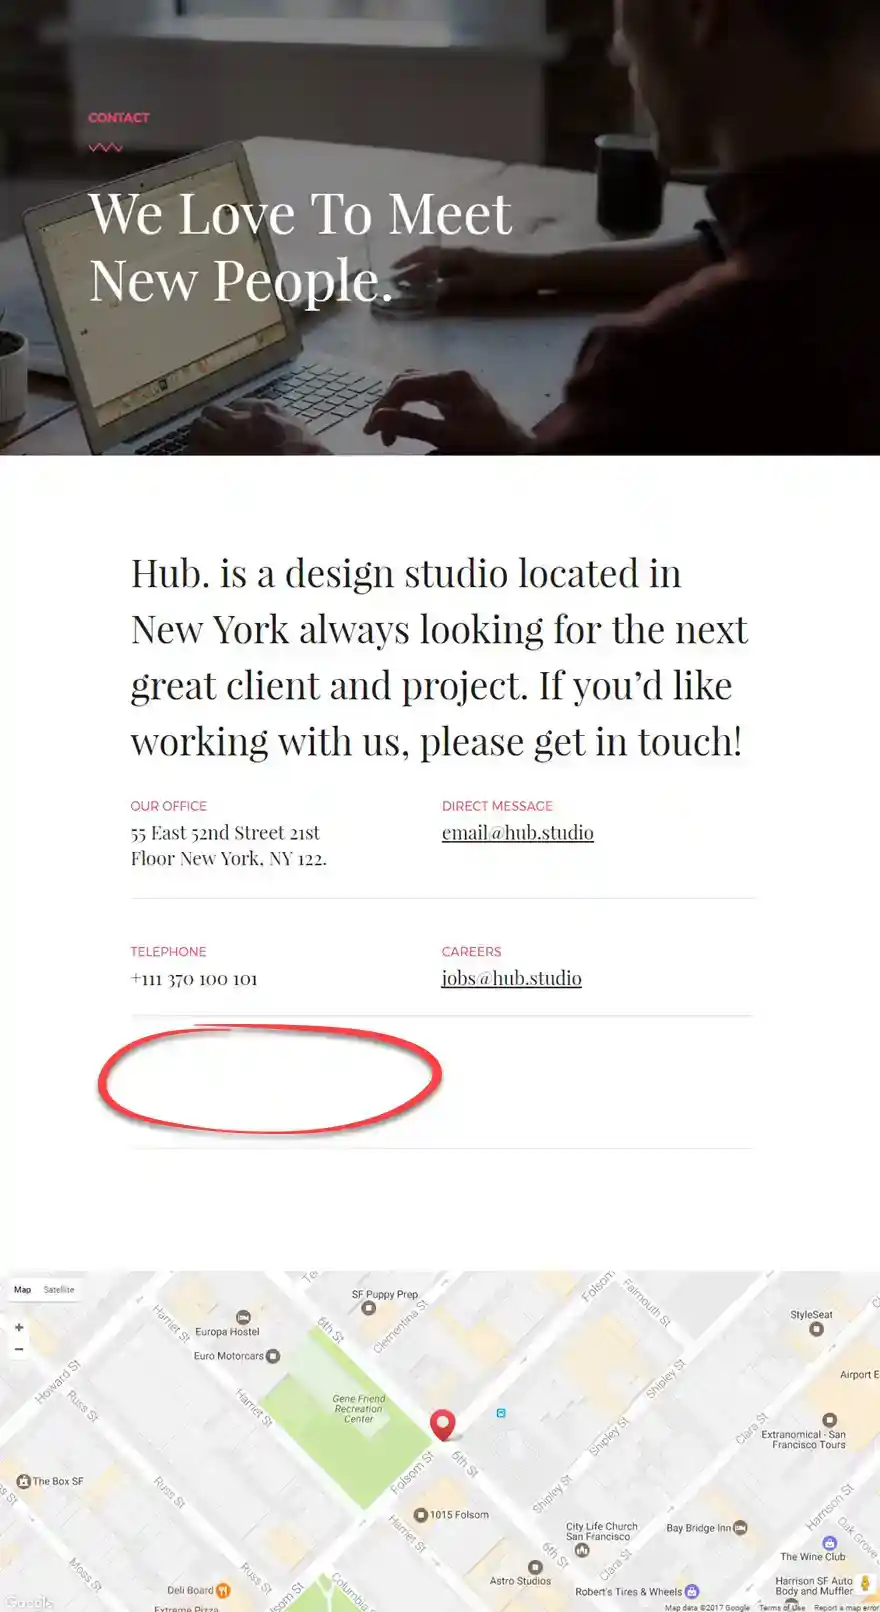
Using the visual generator, add a new regular section with a full row of a full-width column. Insert a social networking module in your column.
In the Content tab of the social network tracking parameters, click on the Add a new element button to add a new social network to your module. Under the specific social network parameters, update the following elements:
Social Network: Facebook
URL: [Enter the URL of your Facebook account]
Icon colour: [assorted colour]
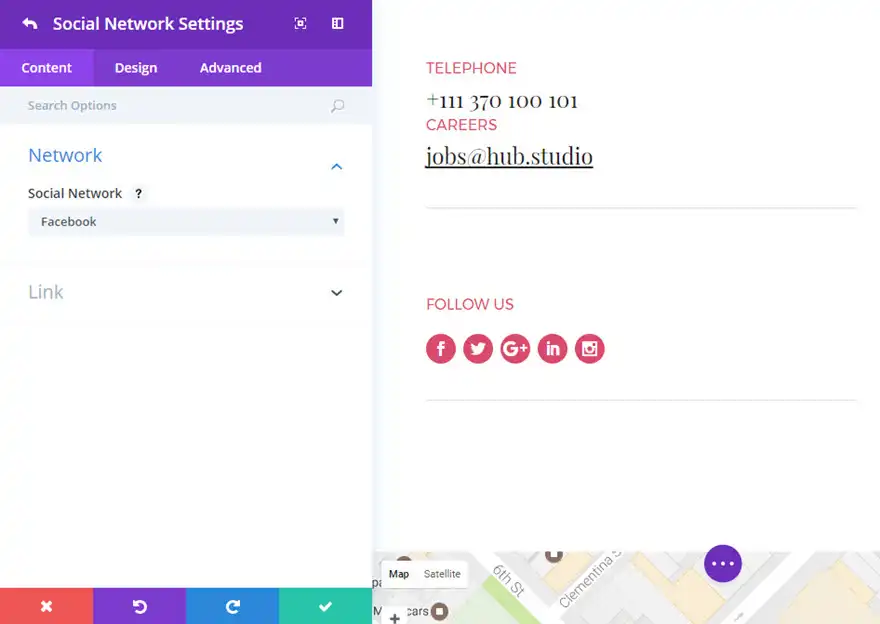
Next, duplicate this social network to add 4 other social networks (Twitter, Google+, Linkedin and Instagram). As you've duplicated the latter, the custom icon colour has been transferred. All you need to do is update each network and account URL.
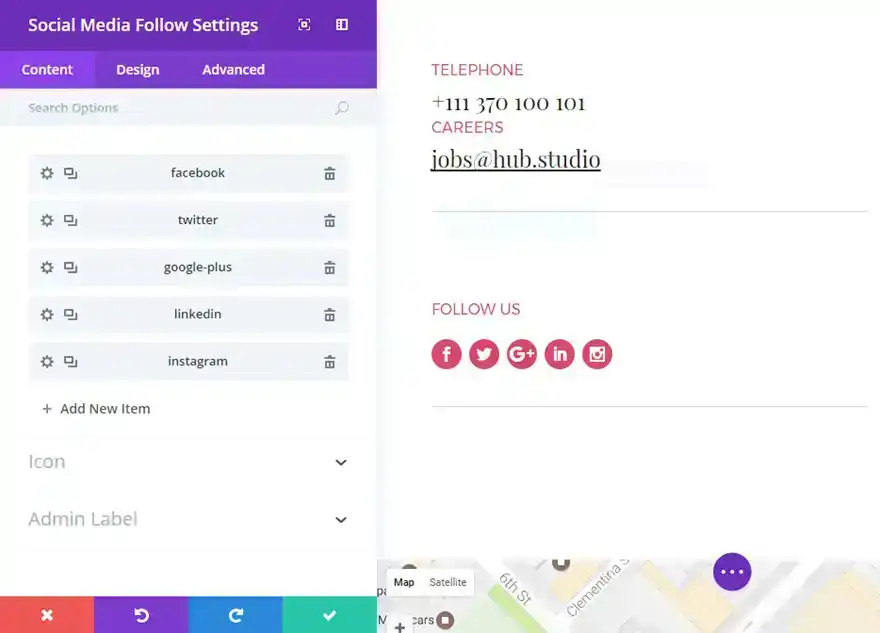
Congratulations! Now you have social network icons that match the page design you want.
Thank you for following this tutorial! I hope you enjoyed it and I'll see you soon for the next tutorial :)
Divi's testimonial module
The Divi e-commerce module
> Consult our Elegant Theme Divi help section
Rate this article :
5/5 | 1 opinion
This article was useful to you ?
Yes
No
3mn reading
The Divi library
3mn reading
How do I install the Divi Builder plugin?
3mn reading
Introduction to the Divi Builder interface
3mn reading
Using the Divi Builder role editor