Rate this article :
This article was useful to you ?
Yes
No
Vous avez noté 0 étoile(s)
Sommaire
Procédure
Divi builder is included in ourWordpress web hosting packages. If you would like support for DIVI builder, you must subscribe to a licence directly on the Elegent theme Divi website.
LWS offers 3 premium plugins from Elegant Themes (Divi, Bloom and Monarch). These are regularly updated. Once you are an LWS customer, you will have free access to these plugins by choosing the 'Divi Builder' distribution when installing the Wordpress CMS with our Auto-Installer.
If you have a cPanel package or have already installed Wordpress with this distribution, but do not have access to all the themes or updates, please let us know by giving us the access details for the administration area of your Wordpress site so that a technician can update the licence.
Please note: you will need to take out an Elegant Themes licence to benefit from support. LWS does not provide support for these products.
Sections are the largest building blocks in the Divi builder. You can think of them as blocks that are stacked horizontally that can group your content into visually distinct areas. In Divi, everything you build starts with a section. This content wrapper has various parameters that can be used to do some really great things.
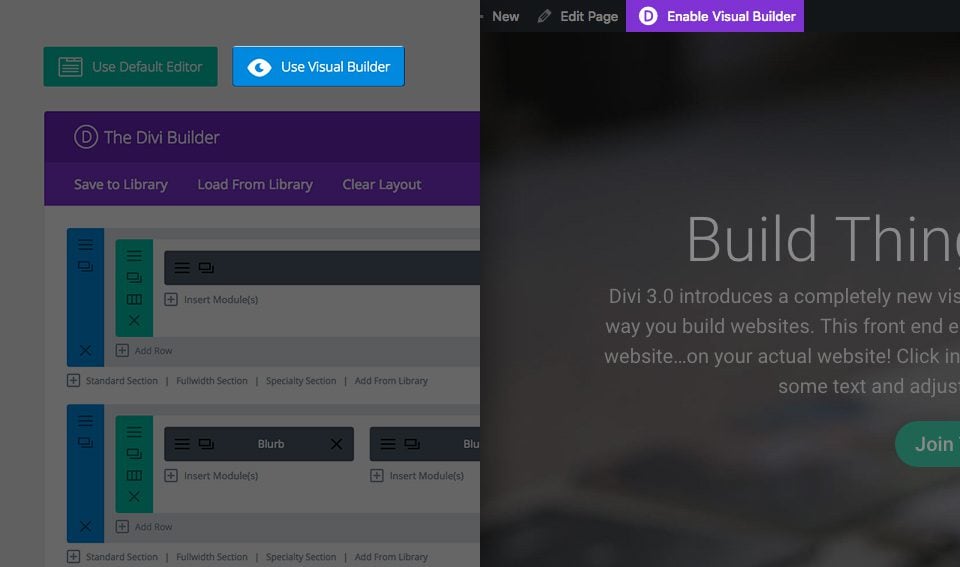
Before you can add a section module to your page, you'll first need to switch over to the Divi Builder. Once the Divi theme has been installed on your website, you'll notice a Use Divi Builder button above the post editor every time you create a new page. Click this button to activate the Divi Builder, giving you access to all of its modules. Then click on the Use Visual Builder button to launch the builder in visual mode. You can also click the Use Visual Builder button while browsing your website at the front if you are logged into your WordPress dashboard.
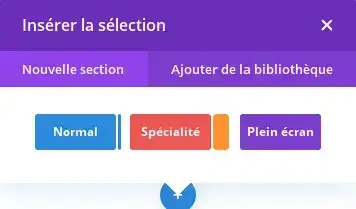
Once you've entered Visual Builder, you can click the blue + button to add a new section to your page. You'll be greeted by a pop-up window that allows you to add any of Divi's three section types. These types include: Normal, Special and Full Screen.
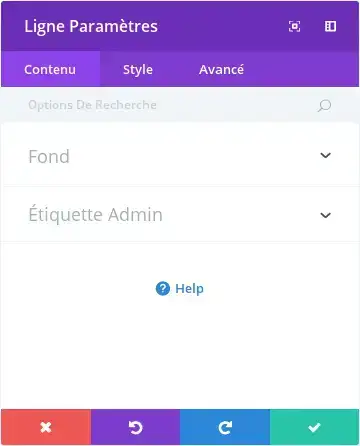
Once the section has been added, you will be greeted with a list of options for the section. These options are separated into three main groups: Content, Style and Advanced.
In the Content tab, you'll find all the content elements for the section. For sections, these content elements are limited to background elements such as background images and videos.
Background image
If defined, this image will be used as the background for this module. To remove a background image, simply delete the URL from the parameters field.
Background colour
If defined, this colour will be used as the background for this module. To remove a background colour, simply delete it from the settings field.
Background video MP4 + WEBM
All videos must be uploaded in both .MP4 and .WEBM formats to ensure maximum compatibility in all browsers. Video backgrounds are disabled on mobile devices. Instead, your background image will be used. For this reason, you should define both a background image and a background video to ensure the best results. Important note: For the MP4 and/or WEBM video format to work in all browsers, your server must have the correct MIME type designated. You can find out more about using .htaccess to define MIME types at this link. If you notice that your videos are not being played in certain browsers, this is probably the reason.
Background video width
For videos to be sized correctly, you need to enter the exact width (in pixels) of your video here.
Height of background video
For videos to be sized correctly, you need to enter the exact height (in pixels) of your video here.
Admin label
In this drop-down list, you can add an admin label which will appear in the rear builder as well as in the skeleton view of the visual builder.
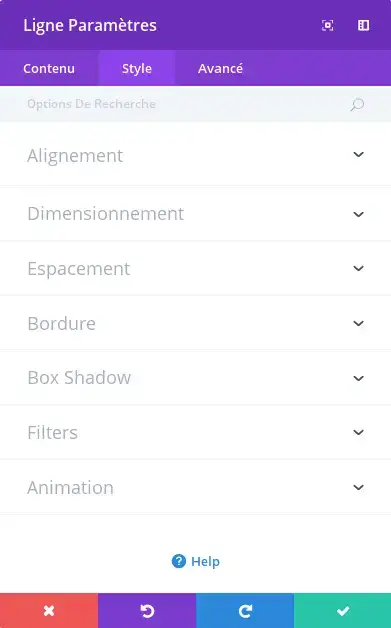
In the style tab, you'll find all the section style options, such as size and spacing. This is the tab you'll use to change the appearance of your section. Each Divi section type has a long list of design settings that you can use to change just about anything.
Show inner shadow
Here you can choose whether or not your section has an inner shadow. This can look great when you have coloured backgrounds or background images.
Use Parallax effect
If this option is enabled, your background image will remain fixed as you scroll, creating a fun parallax effect. You can also choose between two parallax methods: CSS and True Parallax.
Custom padding
Here you can adjust the section padding to specific values, or leave empty to use the default padding.
In the Advanced tab, you'll find options that more experienced web designers might find useful, such as custom CSS and HTML attributes. Here you can apply custom CSS to your section. You can also apply custom CSS classes and IDs to the section, which can be used to customise the section in your child theme's style.css file.
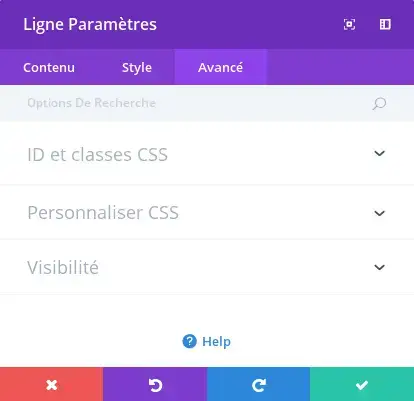
CSS ID
Enter an optional CSS ID to use for this section. An ID can be used to create a custom CSS style or to create links to particular sections of your page.
CSS Class
Enter the optional CSS classes to be used for this section. A CSS class can be used to create a custom CSS style. You can add several classes, separated by a space. These classes can be used in your Divi theme or in the custom CSS you add to your page or website using Divi Theme Options or Divi Builder Page Settings.
Custom CSS
Custom CSS can be applied to the here section. In the Custom CSS section, you'll find a text field where you can add custom CSS directly to each element. The CSS entry in these parameters is already wrapped in style tags, so all you have to do is enter the CSS rules separated by semicolons.
Visibility
This option lets you control the devices on which your section appears. You can choose to disable your section on tablets, smartphones or desktops individually. This is useful if you want to use different sections on different devices, or if you want to simplify mobile design by eliminating certain sections from the page.
Full-screen sections give you access to a new set of full-width modules. These modules act a little differently because they take advantage of the full width of the browser. Full-screen modules can only be placed in full-screen sections.
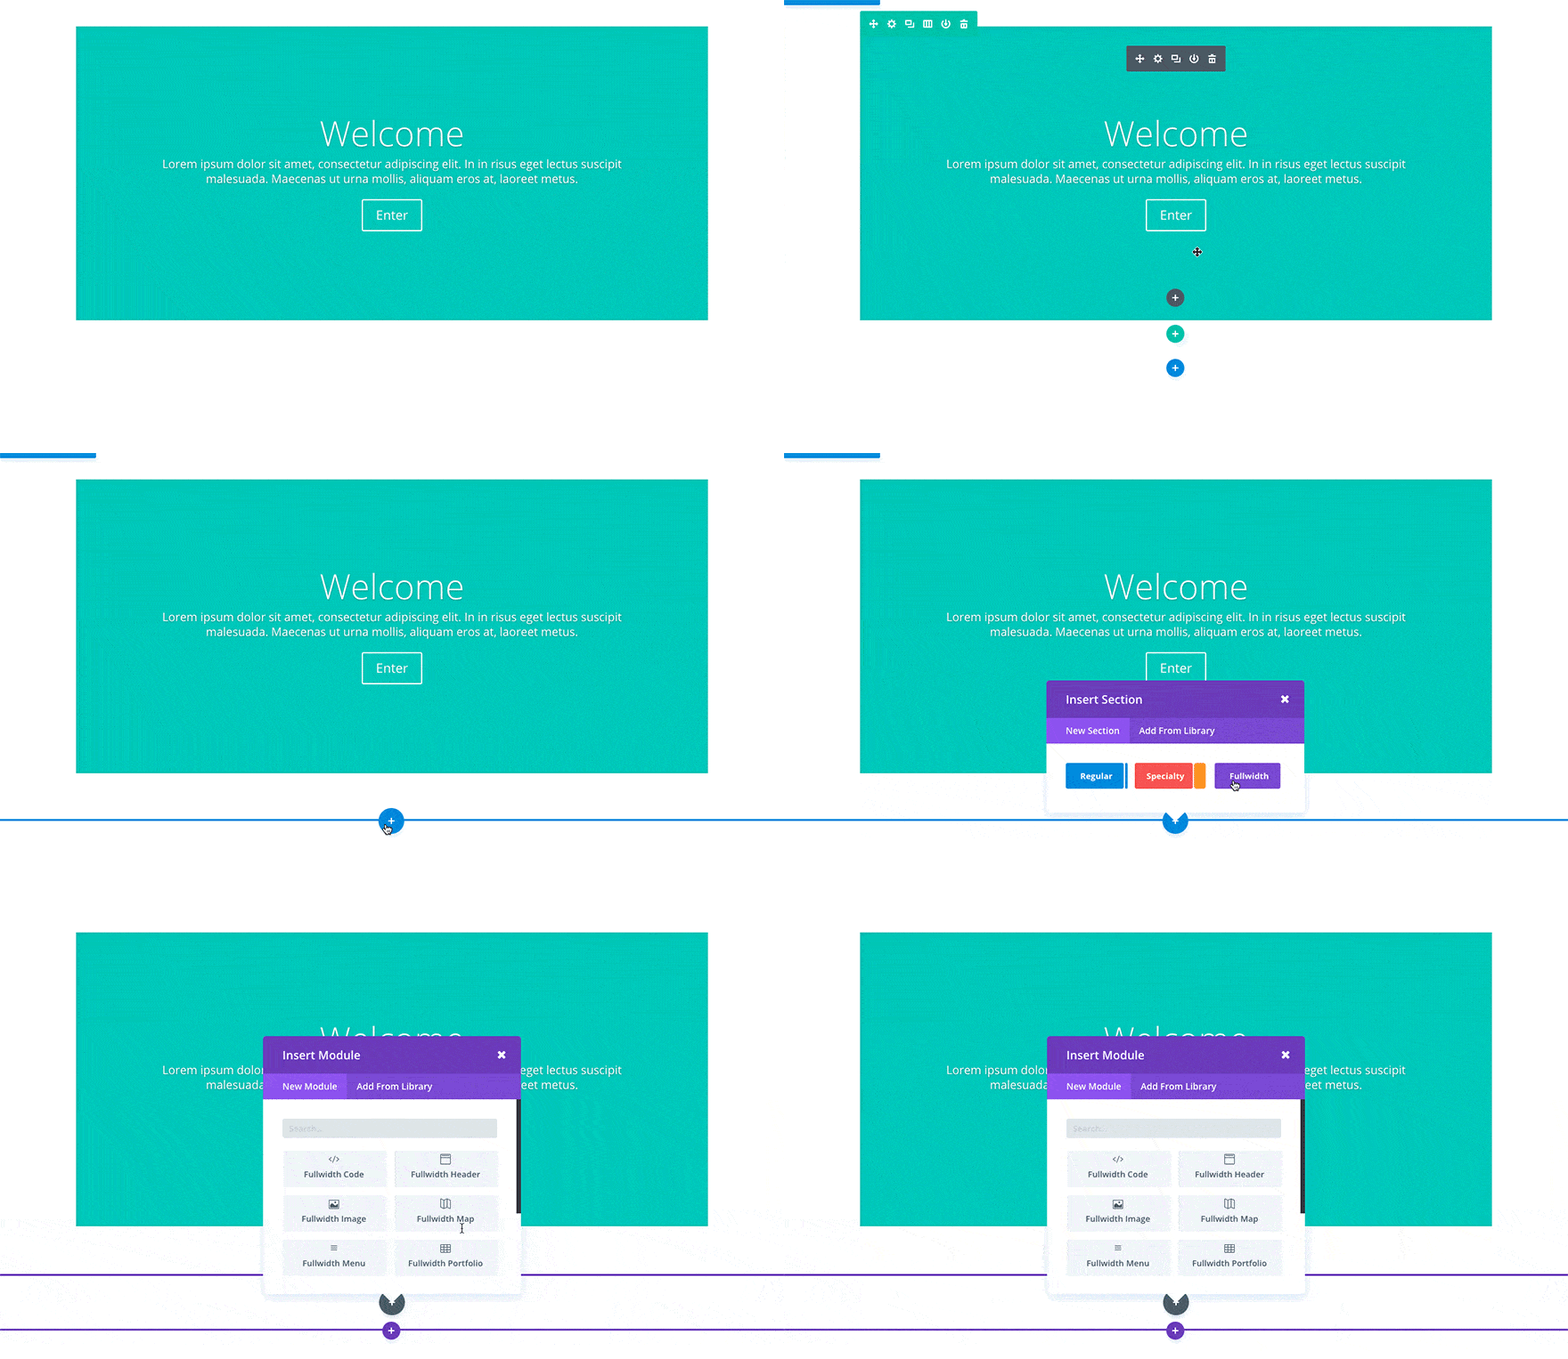
Once you add a new full-screen section to your page, you can click on the Add modules button in the section to add a full-screen module. Unlike the normal section, there is no concept of rows or columns, as these modules always take advantage of 100% of the screen. Full-screen modules are an excellent way of adding a visual break to the page!

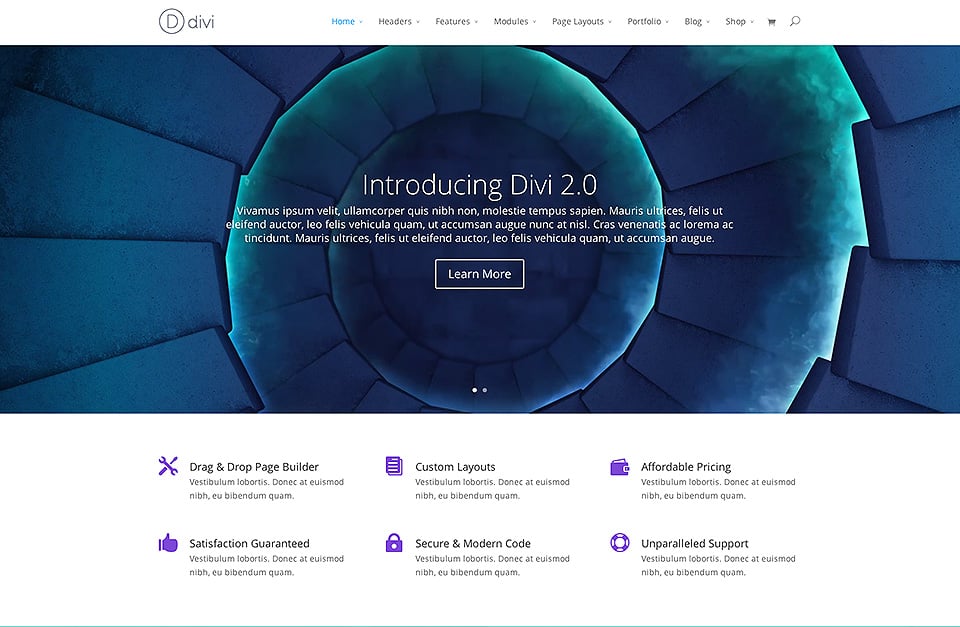
A good example of a full-width module is the full-width slider. This full-width slider works like a normal slider, except that it expands to 100% of its width. Displaying a slider at such a scale can be quite astonishing, just take a look at our divi demo for an example.
Specialised sections have been created to allow more advanced column structures. Unlike normal sections, when you use a specialised section you can add complex column variations alongside full-span vertical sidebars, without adding unwanted breaks to the page. These types of layout are not possible with normal sections.
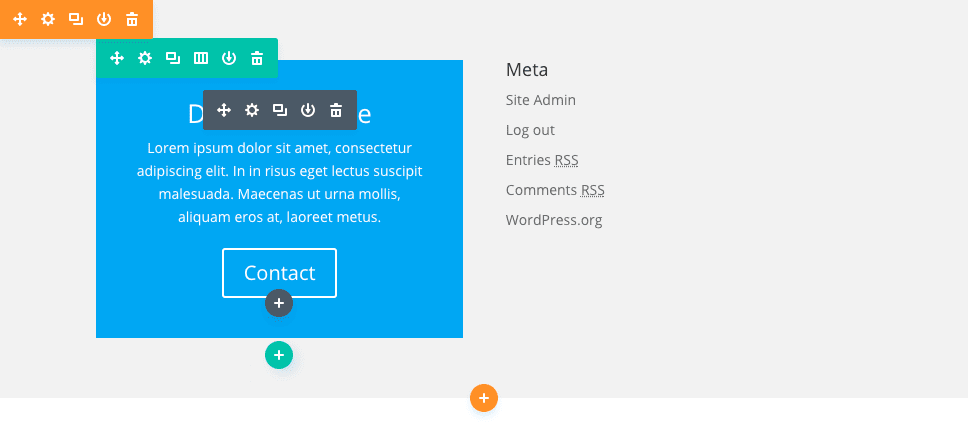
Once you add a specialised section to the page, you'll notice that one area has an 'add module' button, while the other has an 'insert row' button. The "insert module" area represents your vertical sidebar. You can add as many modules here, in a single row, and they will cover the vertical width of the section, adjacent to the column structure you are building next to it. By clicking on "insert row", you can insert additional rows to the left/right of your sidebar. In a way, this can be seen as adding rows within rows!
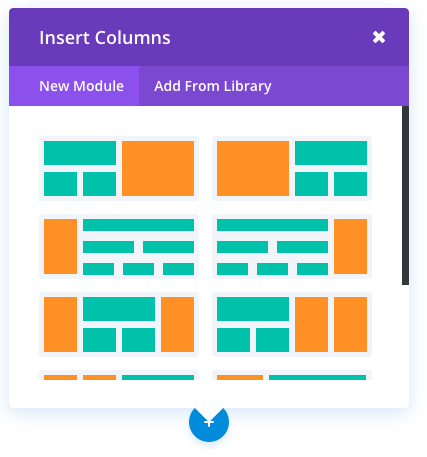
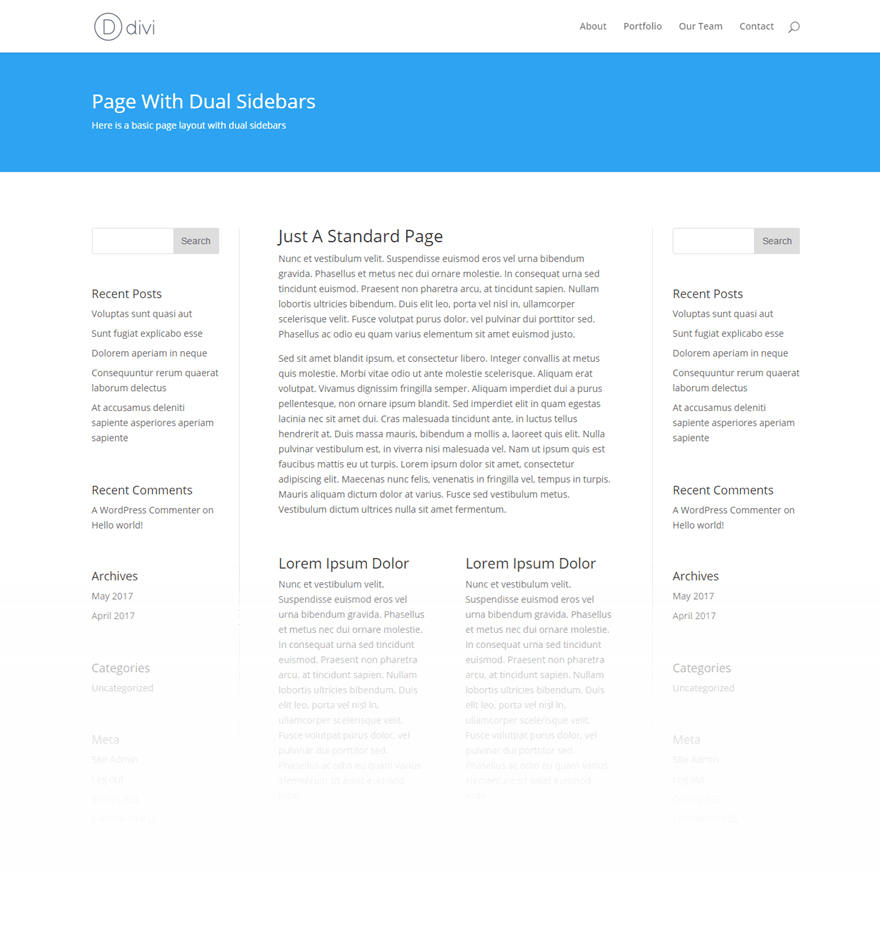
The result is the ability to create just about any column structure you could dream of, and whatever structure you choose, we've made sure the combination is perfect! Here's an example of a layout created using specialised sections. As you can see, the effect is a double sidebar layout, with two vertical lines on the left/right of a complex column structure in the middle.
Thank you for following this tutorial!
You now know how to use the different sections available to you in Divi.
See you soon for a new tutorial :)
How to create a new project with Divi
How to update your Divi plugin
> See our Elegant Themes Divi help section
Rate this article :
This article was useful to you ?
Yes
No
3mn reading
The Divi library
3mn reading
How do I install the Divi Builder plugin?
3mn reading
Introduction to the Divi Builder interface
3mn reading
Using the Divi Builder role editor