Rate this article :
This article was useful to you ?
Yes
No
Vous avez noté 0 étoile(s)
Sommaire
Procédure
Divi builder is included in ourWordpress web hosting packages. If you would like support for DIVI builder, you must subscribe to a licence directly on the Elegent theme Divi website.
LWS offers 3 premium plugins from Elegant Themes (Divi, Bloom and Monarch). These are regularly updated. Once you are an LWS customer, you will have free access to these plugins by choosing the 'Divi Builder' distribution when installing the Wordpress CMS with our Auto-Installer.
If you have a cPanel package or have already installed Wordpress with this distribution, but do not have access to all the themes or updates, please let us know by giving us the access details for the administration area of your Wordpress site so that a technician can update the licence.
Please note: you will need to take out an Elegant Themes licence to benefit from support. LWS does not provide support for these products.
Each time you create a new Pop-Up, Fly-In or below opt-in window, you will be presented with a set of display parameters. These parameters are used to control where and when your opt-in will appear on your website. You can choose to display your opt-in across your entire site, or you can choose to display your opt-in on individual messages or message types. If you create a Fly-In pop-up window, you can also adjust a set of "triggers" that affect the display of your opt-in. For example, you could create a pop-up window that exists on all pages, but is only triggered when a visitor reaches the bottom of your message. Or you could create a fly-in that only exists on a certain category of messages, and is only displayed after a visitor has commented.
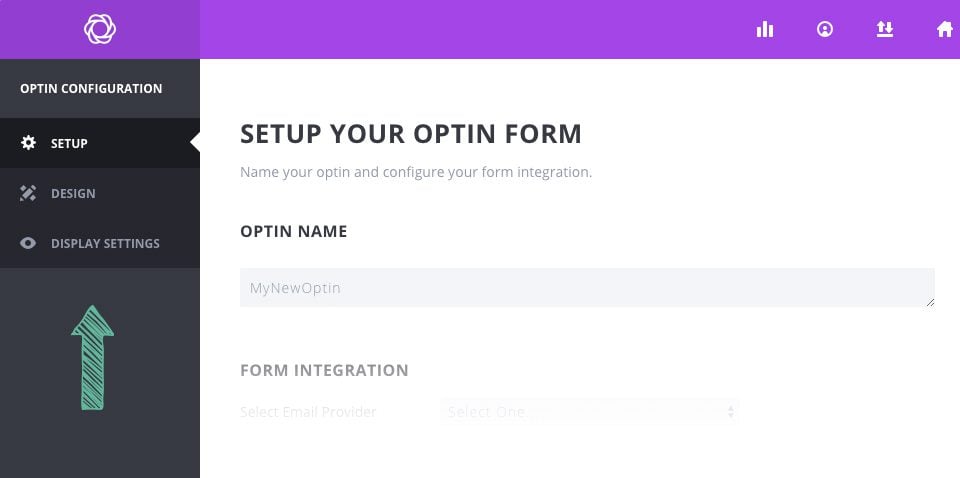
By targeting specific opt-ins to specific parts of your site, you can optimise them to be more relevant to your visitors. For example, you might not want to offer a special discount to someone who is ready to publish your blog on "web design", but you could offer them a free ebook where they can learn even more. You might not want to offer a free ebook to a potential customer who is the browser for your WooCommerce shop, but you might want to offer a 20% discount in exchange for signing up to your list. These are just two examples of how creating specific opt-ins for specific locations on your website can be very effective.
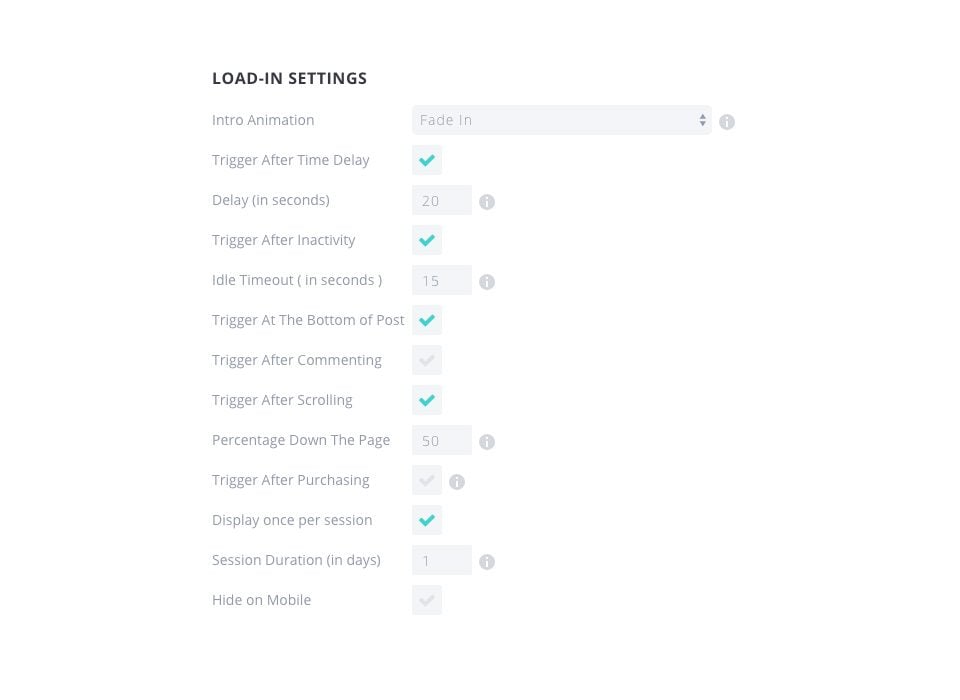
Trigger After Time Delay
If automatic PopUps are enabled, this parameter will appear, allowing you to specify the time delay (in seconds) for your social pop-up.
Trigger After Inactivity
The pop-up will appear once the user has been inactive for a certain period of time. If the user has left their computer, or left the tab after reading your message, try reminding them to subscribe when they return!
TriggerAt The Bottom of Post
Just when a reader reaches the end of your page or content, it's the perfect time to offer them a way to subscribe to your content. Activating this pop-up trigger will automatically detect the end of your content and do so.
Trigger After Scrolling
This will trigger the pop-up window after the visitor has scrolled a certain percentage down the page. Depending on the size of your page and the content it contains, you can have the pop-up trigger at specific points in the reading process. Depending on the situation, it may be much more effective to have the pop-up or fly-in trigger at certain percentages than to delay the timing.
Trigger after commenting
This is an excellent way of targeting your most engaged visitors. When this option is activated, your visitor will be greeted by a pop-up or fly-in after posting a comment on your website.
Trigger After Purchasing
This is another great way to target your most engaged visitors. When enabled, your customers will be invited to subscribe to your website after successfully purchasing a product using WooCommerce.
NOTE triggers
Regardless of the number of triggers you select above, Bloom will only use the one that occurs first so your users aren't overwhelmed by pop-ups if you have multiple triggers enabled.
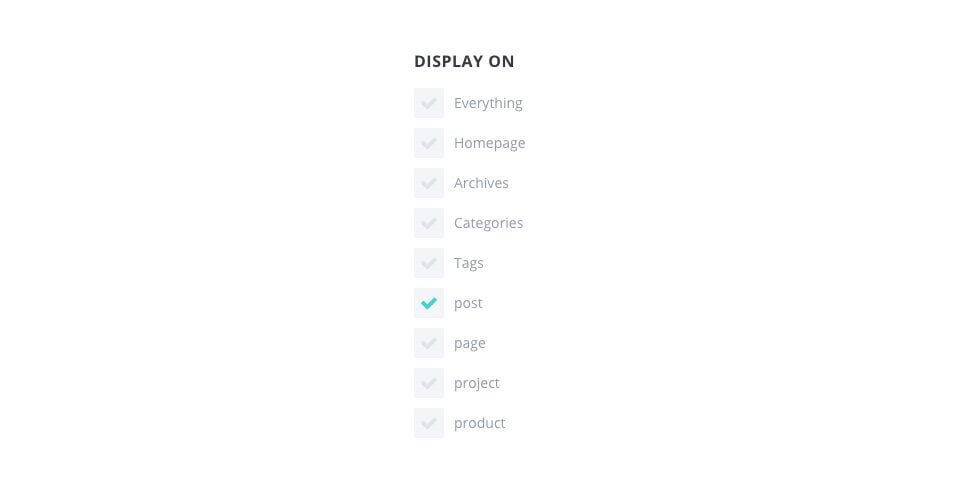
Everything
When selected, the optin will be displayed on every part of your website.
Homepage
When selected, the optin will be displayed on the home page of your website.
Archives
When selected, the optin will be displayed on the archive pages.
Categories
When selected, the optin will be displayed on the category pages.
Tags
When selected, the optin will be displayed on tag pages.
Posts
When selected, the optin will be displayed on single post pages.
Page
When selected, the optin will be displayed on all individual pages.
Other types of message
Other post types registered by your plugins may also appear here, and selecting these post types will display the optin on all posts with that post type.
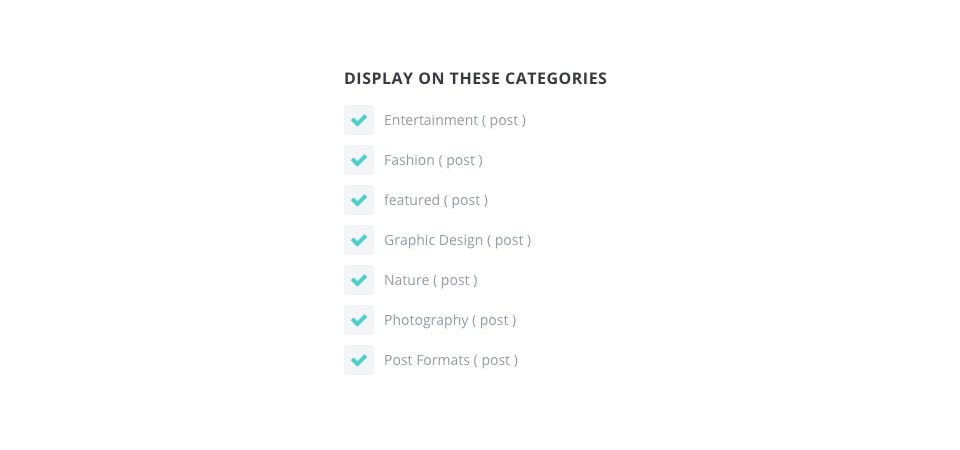
Selecting individual categories (Display on these categories)
Here you can choose to display your optin on the individual categories you select.
Automatically check categories created in the future
If this option is selected, your optin will automatically be displayed on any new categories you create.
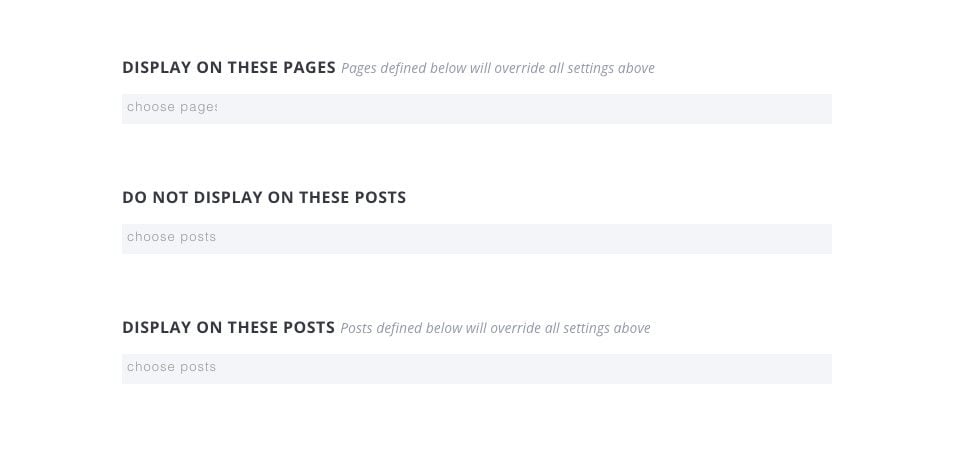
Displayon these pages
Here you choose individual pages to display your optin.
Do not display on theseposts
Here you can choose the pages on which you do not want your optin to appear.
Display on these posts
Here you choose the individual publications on which you want your optin to be displayed.
Bloom gives you total control over where each of your opt-in forms appears on your website. Now it's up to you!
Thank you for following this tutorial and look forward to the next one :)
Using bloom's Opt-in locked content
> See our Bloom plugin help section
Rate this article :
This article was useful to you ?
Yes
No
3mn reading
How do I install the WordPress Bloom plugin?
4mn reading
Bloom plugin features at a glance
4mn reading
Adding an email account to Bloom
4mn reading
Using Bloom's Opt-in pop-up