Rate this article :
This article was useful to you ?
Yes
No
Vous avez noté 0 étoile(s)
Sommaire
Procédure
Divi builder is included in ourWordpress web hosting packages. If you would like support for DIVI builder, you must subscribe to a licence directly on the Elegent theme Divi website.
LWS offers 3 premium plugins from Elegant Themes (Divi, Bloom and Monarch). These are regularly updated. Once you are an LWS customer, you will have free access to these plugins by choosing the 'Divi Builder' distribution when installing the Wordpress CMS with our Auto-Installer.
If you have a cPanel package or have already installed Wordpress with this distribution, but do not have access to all the themes or updates, please let us know by giving us the access details for the administration area of your Wordpress site so that a technician can update the licence.
Please note: you will need to take out an Elegant Themes licence to benefit from support. LWS does not provide support for these products.

Monarch makes it extremely easy to install, order and manage social sharing networks and your social network profiles. The dashboard divides your network configuration into two different areas: Sharing and Tracking, which are described in detail below.


Add networks
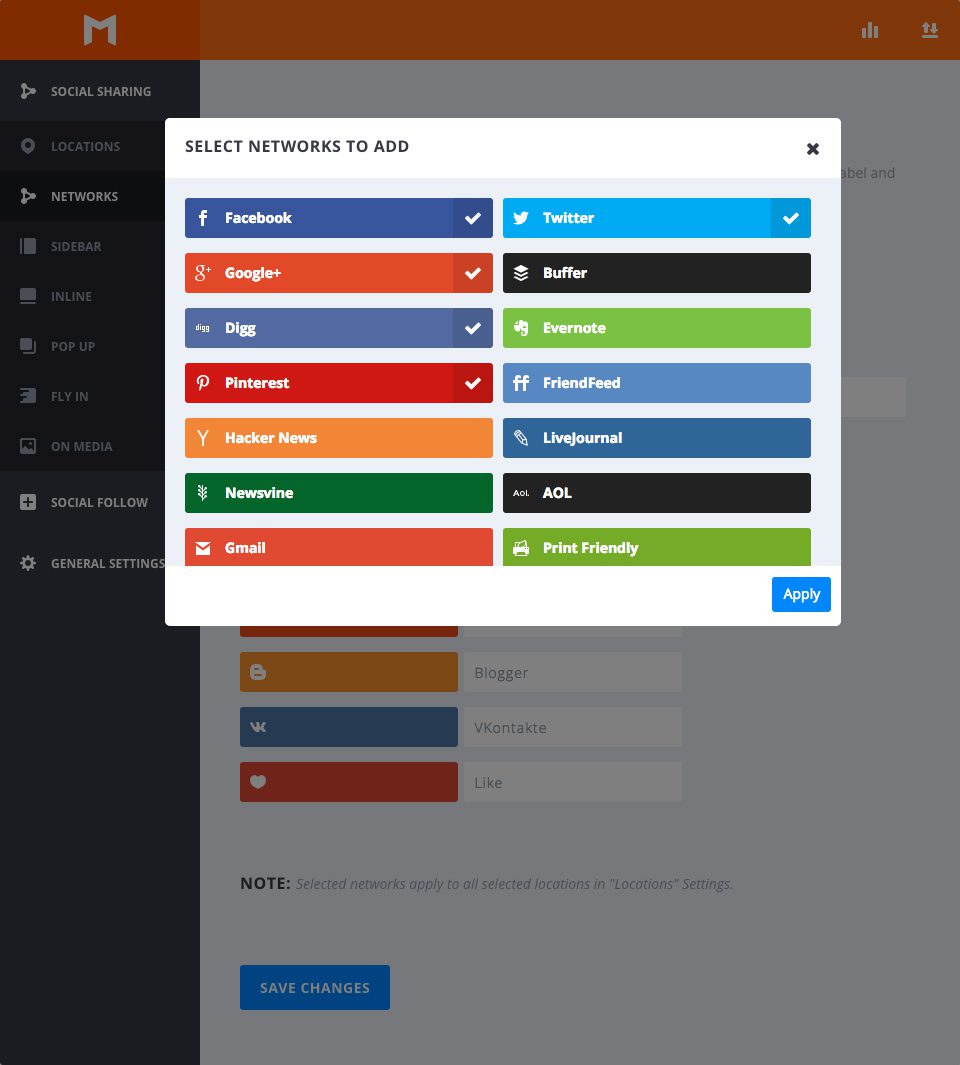
Clicking this button will bring up a modal window of all the available social sharing networks. From here, you can select, deselect and view networks you may have already selected. Applying your selections will update your list of networks.
Setting up networks
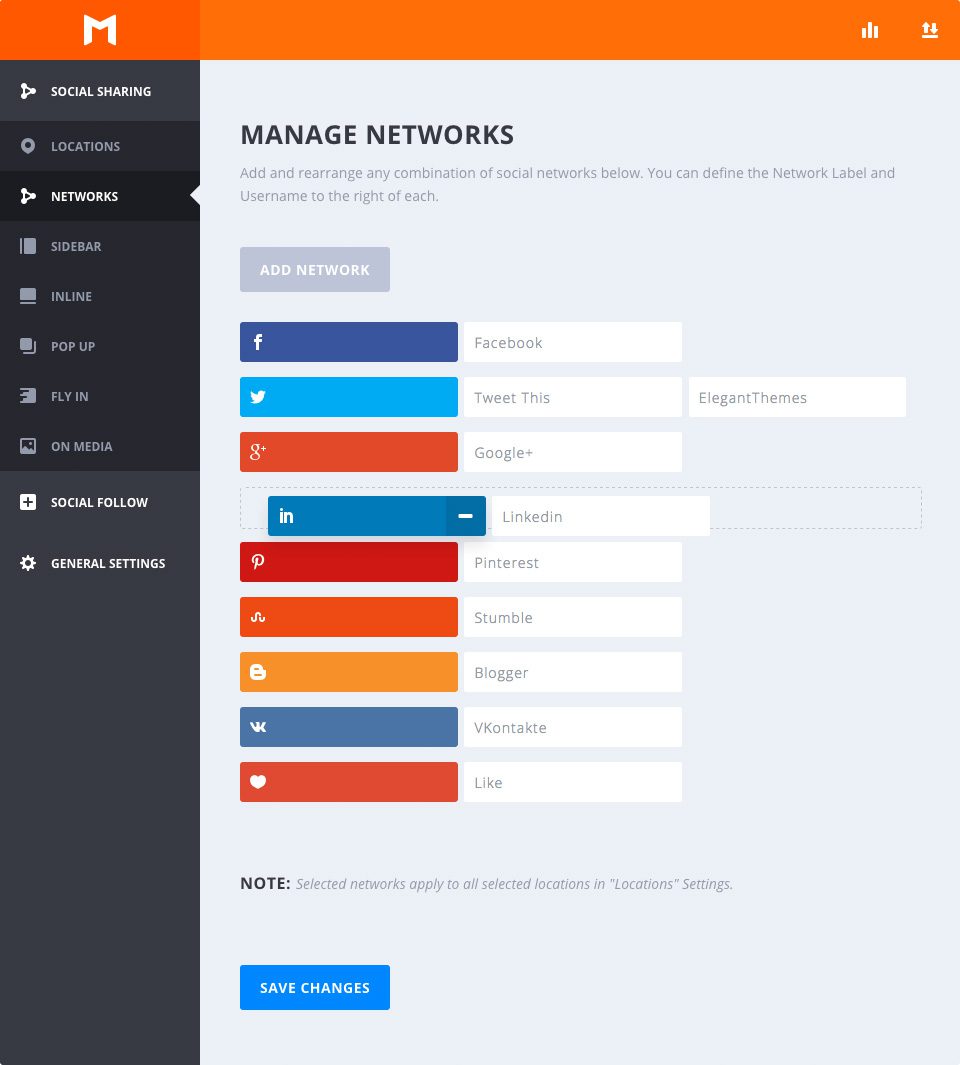
Organising your networks in a specific order is as easy as dragging and dropping.
Network labels
By default, Monarch uses network names as button labels, but you can type in the tag of your choice. For example, you can use tags such as "Tweet This" "Share This" or "Pin This" instead of using network names.
Twitter handle
If Twitter is added to your list, you can enter your Twitter handle so that when people tweet a page, your handle is automatically inserted into their tweet text.


Add networks
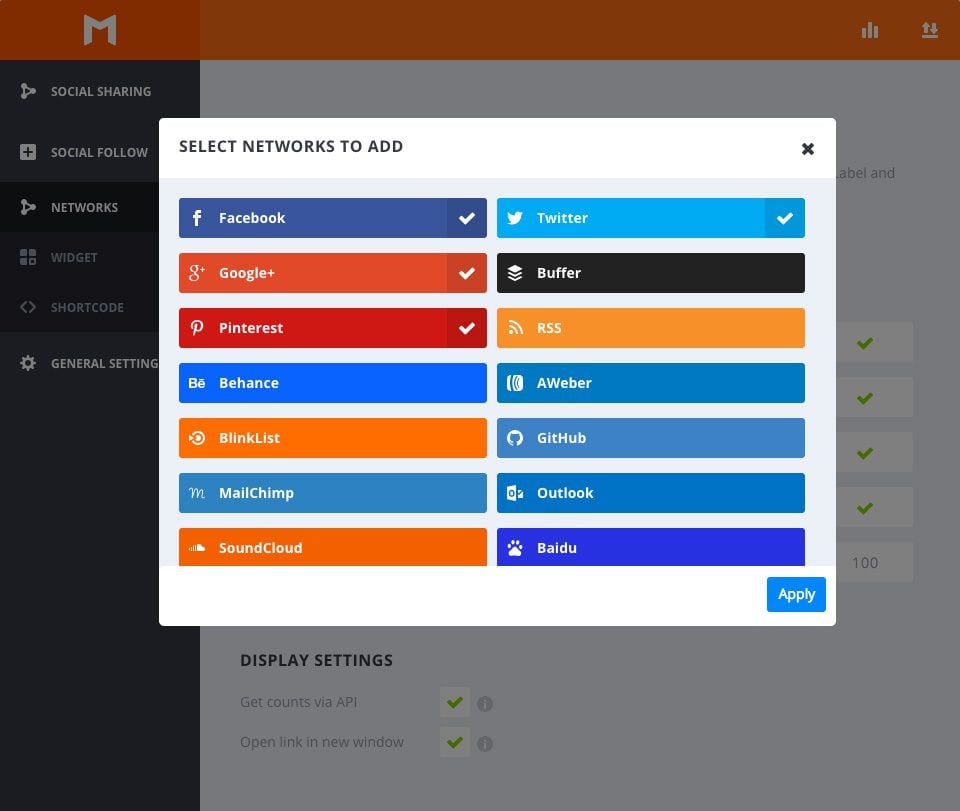
Clicking this button will bring up a modal window of all the available social networks. From here you can select, deselect and view networks you may have already selected. Applying your selections will update your list of networks.
Setting up networks
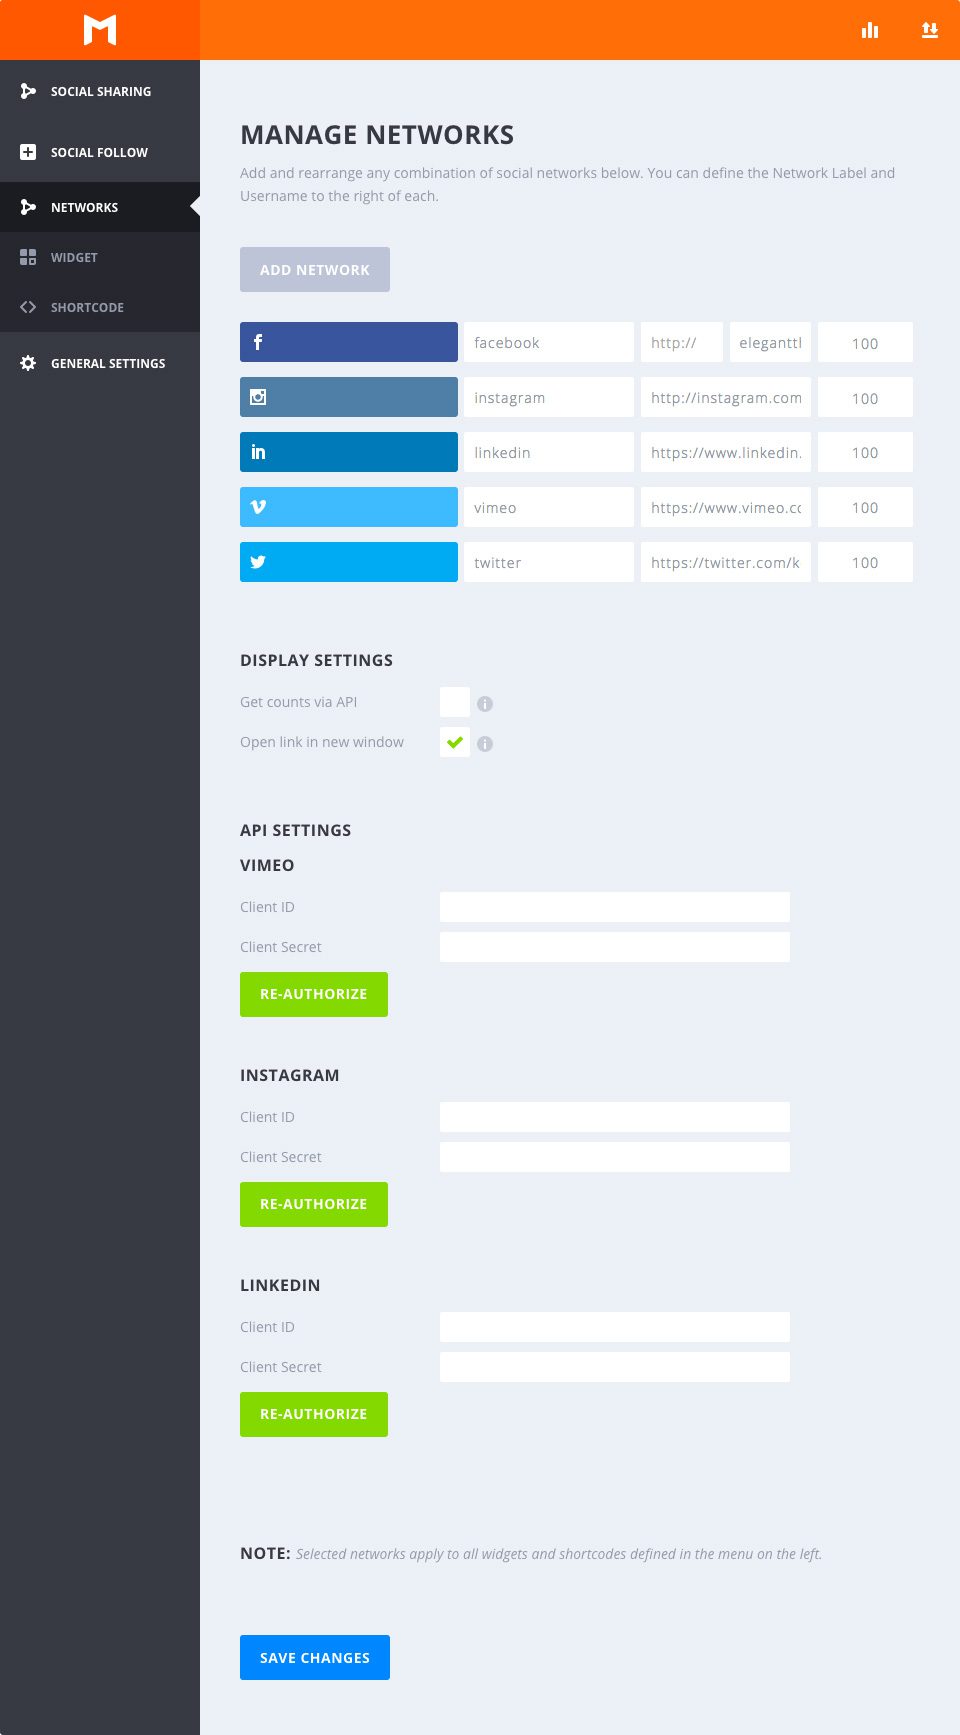
Organising your networks in a specific order is as easy as dragging and dropping.
Network labels
By default, Monarch uses network names as button labels, but you can type in the tag of your choice. For example, you can use labels such as "Follow Us" or "Subscribe" instead of network names.
Profile URL
This link allows Monarch to link to your social profile when a visitor clicks on a social follow button.
Account Tracking
In these fields you can enter your tracking accounts. Most networks require you to enter and update these numbers manually, but in the display setting below you can enable API counting for some networks.
Get accounts via API
Checking this will allow all networks that have an account tracking API to dynamically display your tracking accounts.
Open link in New Window
This option allows you to define whether or not you want your social profile to open in a new browser window.
Congratulations! You now know how to add and manage your social networks with Monarch :D
See you soon for a new tutorial ;)
Complete overview of the Monarch WordPress plugin
How do I install the Monarch WordPress plugin?
> Consult our Monarch plugin help section
Rate this article :
This article was useful to you ?
Yes
No
3mn reading
How do I install the WordPress Monarch plugin?
4mn reading
Full overview of the Monarch WordPress plugin
4mn reading
Using the Monarch API network
3mn reading
How do I view statistics in Monarch?