Rate this article :
5/5 | 2 opinion
This article was useful to you ?
Yes
No
Vous avez noté 0 étoile(s)
Sommaire
Procédure
Installing and configuring a WordPress site on a local server is a good way to work on your site before making it available online. However, it's not always easy to move a local site to online hosting. Several parameters need to be taken into account and an oversight could render your site inaccessible.
In this article, we'll look at how to migrate a local WordPress site to LWS shared hosting easily and without any technical knowledge.
1. Installing the Duplicator plugin
In order to create a backup of our local WordPress site, we're going to use a tool that will be responsible for recovering all our files and data. This tool is the Duplicator plugin.
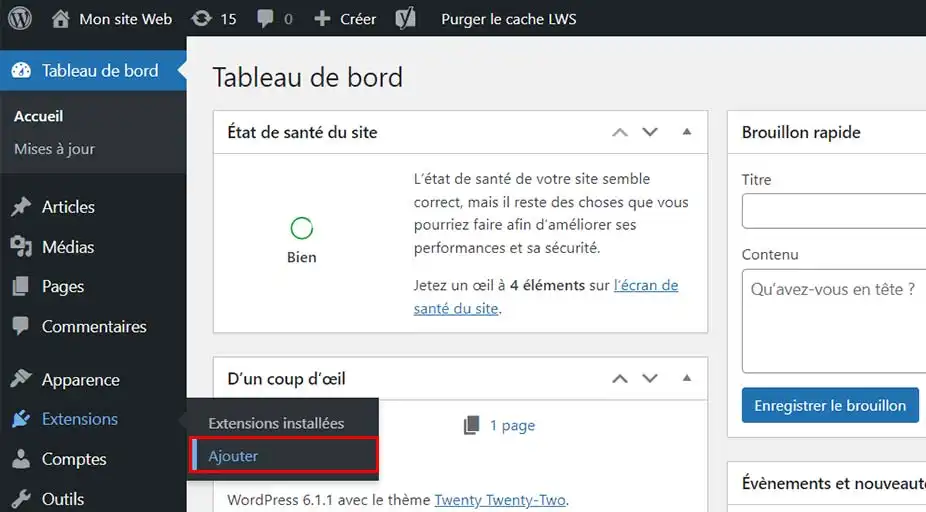
It's very easy to install, just go to the left-hand menu "Extensions" and click on "Add".
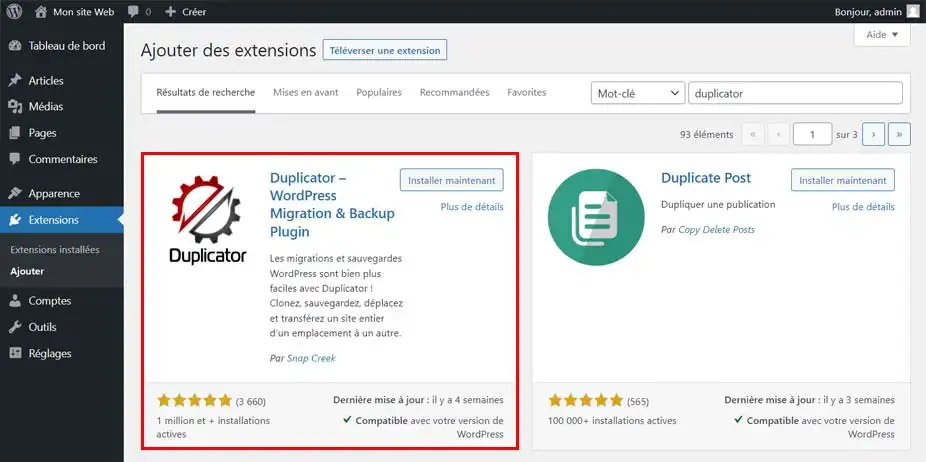
Enter the term Duplicator in the search bar and then click on the "Install Now" button for the plugin, which will be called "Duplicator - WordPress Migration & Backup Plugin".
Finally, once the installation is complete, click Activate.
2. Creating the backup with Duplicator
Now that Duplicator has been installed and activated on our WordPress, all that remains is to create a backup of our site.
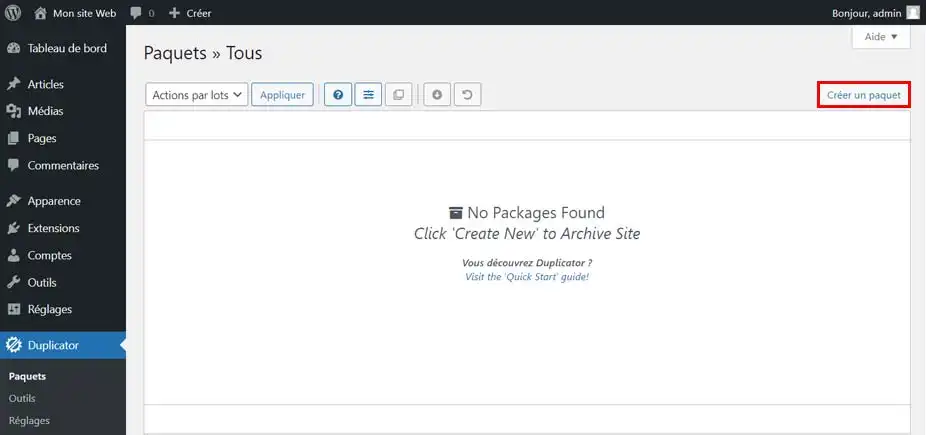
To do this, go to the left-hand menu in WordPress and click on Duplicator.
Next, click on the Create a package button and then on the Next button.
A scan of your site will be performed.
At the end of the scan, you'll get a summary of certain elements for creating the backup.
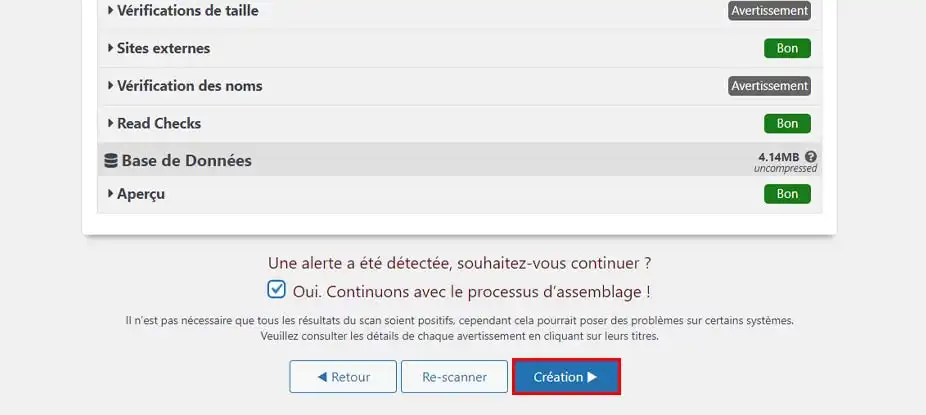
It is possible that the plugin detects a few elements that could interfere with the creation of the backup. However, if this is the case, tick the "Yes. Let's continue with the assembly process!" box.
Then click on the "Create" button
Creating the backup may take a few minutes.
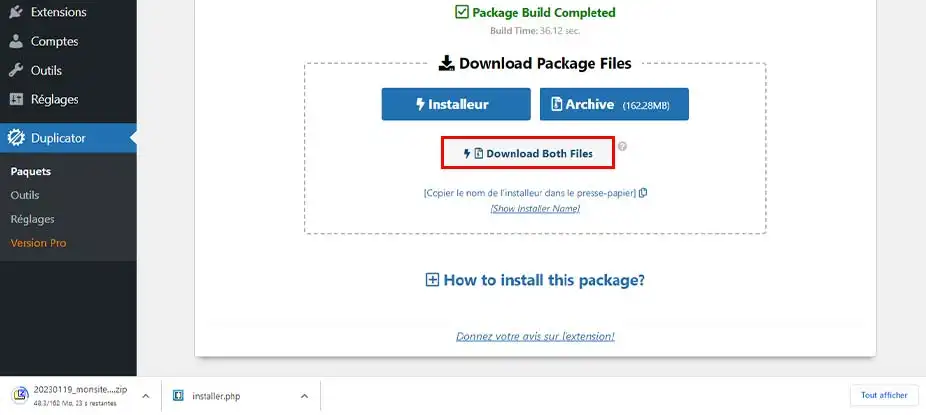
At the end of the loader, you will receive confirmation that the backup has been created (Package Build Completed).
3. Retrieving the backup
Click on the white"Download Both Files" button to download the backup to your PC.
This will save two files that will be useful for setting up your WordPress on your cPanel hosting.
Before installing your WordPress backup on your LWS shared hosting, you need to create a MySQL database for your new website.
If you have already created a MySQL database, you can skip this step.
To create a database, you need to go to your LWS panel and into your service management.
Locate the "Databases & PHP" section and click on the "MySQL & PhpMyadmin" icon.

Then click on the button "Click here to create a MySql database".

You will receive information about this database in your contact email.
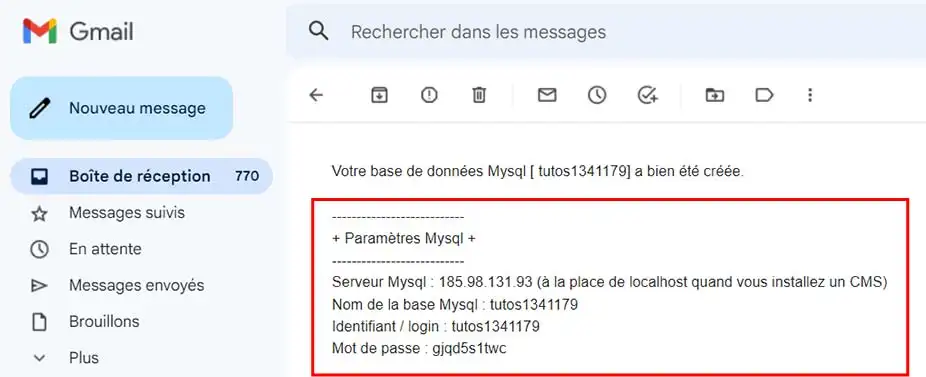
Your database is now ready to be used with your WordPress site.
Make sure you retrieve the "Mysql Settings" information from the email that was sent to you. You'll need this information in the next step.
Now that we've configured the database, all we need to do is set up the backup for our WordPress site.
Locate the "Files" section and click on the "File Manager" icon.
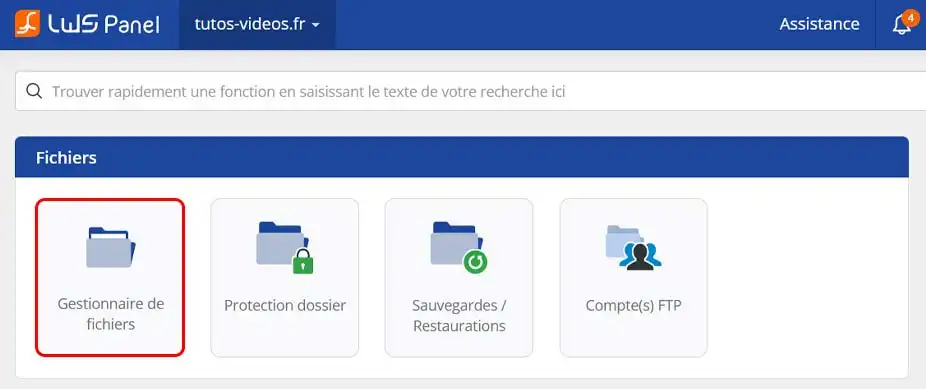
Once in the file manager, make sure there are no files in the folder, otherwise delete them.
Now click on the "Upload" button at the top of the page.

Click on the "Select a file" button
Select your two files that you had uploaded at the end of step 1 and click open. This will upload the files to the server.
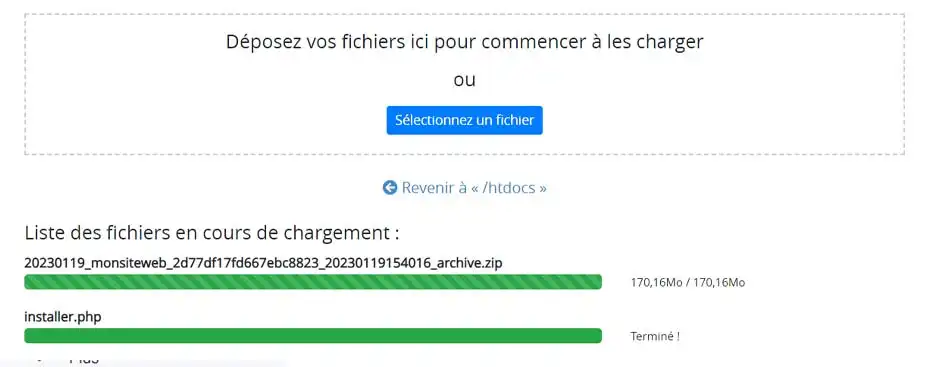
Once this is complete, you have finished step 3.
Now that your files are on the server, go from your browser to your domain.
For example, if your domain is my-domain.com, go to the following URL: http://www.mon-domaine.com/installer.php
This will load the installation and configuration page for your WordPress site on your hosting.
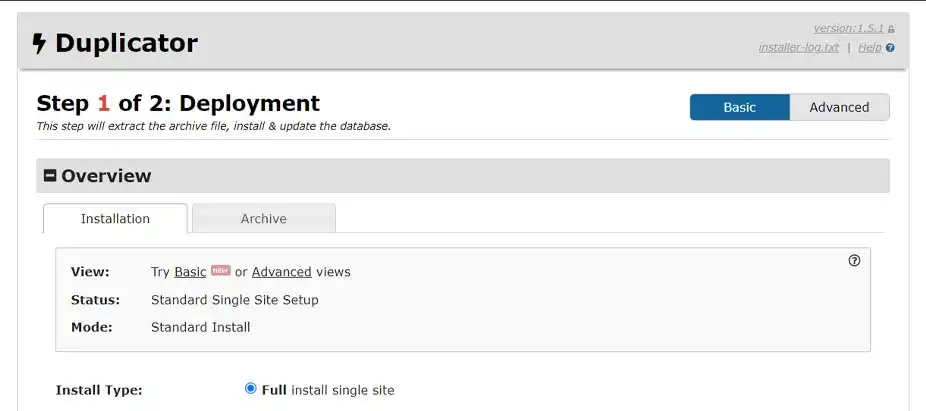
On the first page, we're going to fill in the information for our database in the Setup section
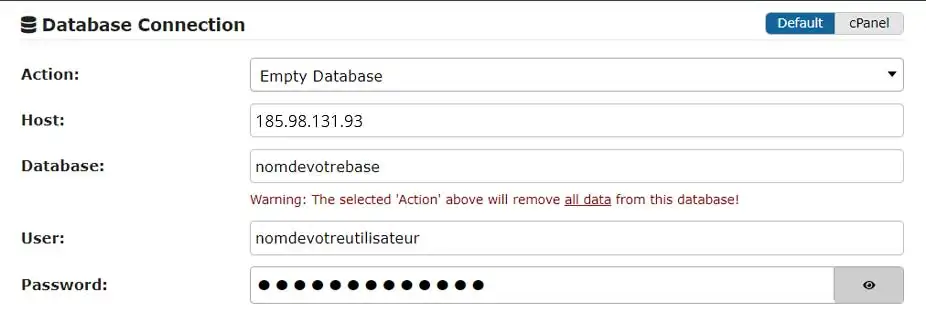
Once these fields have been filled in, click on the "Validate" button at the bottom of the page.
A check will be performed to ensure that everything is OK to install your site.
Once the check has been completed, if no problems are found, simply tick the "I have read and accept all terms & notices*" box and click "Next".
Click on "OK" in the window that opens to start the installation, which may take a few minutes.
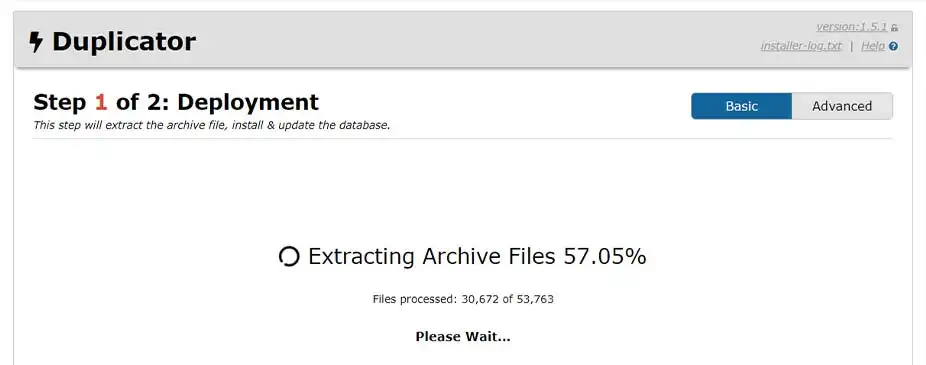
Once the installation is complete, click on the "Admin Login" button.

All you have to do now is connect to the administration of your site with the login details you had locally.
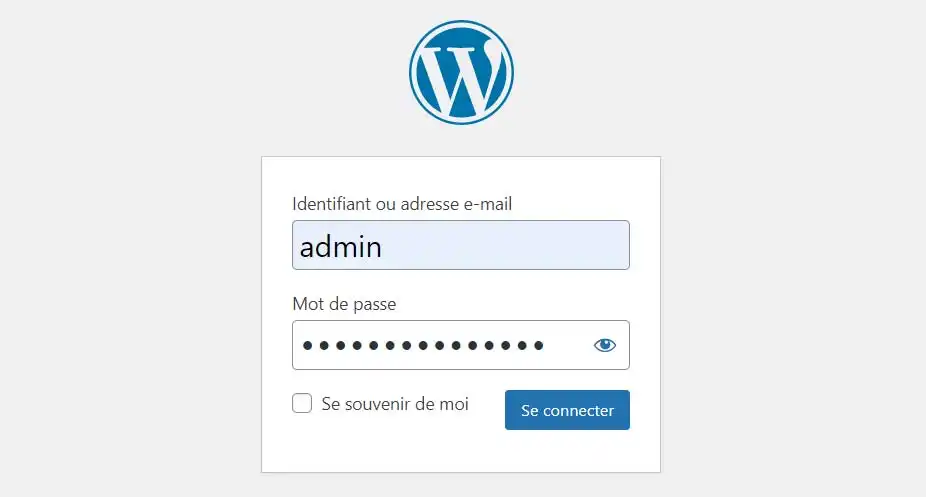
Your site is now on your LWS shared hosting.
Rate this article :
5/5 | 2 opinion
This article was useful to you ?
Yes
No
1mn reading
How do I install a CMS with the LWS auto-installer?
4mn reading
Install Laravel on LWS shared hosting in a few simple steps
1mn reading
How do I set up a shop on an Ecommerce package?
1mn reading
How do I install WordPress with the LWS auto-installer?