Rate this article :
3.1/5 | 9 opinion
This article was useful to you ?
Yes
No
Vous avez noté 0 étoile(s)
Procédure
When it comes to creating a website, installing a content management system (CMS) is an essential step. With the LWS auto-installer, you have a practical, easy-to-use tool for installing your favourite CMS quickly and efficiently. In this article, we will guide you through the steps required to install a CMS with the LWS auto-installer, allowing you to get your website up and running in no time.
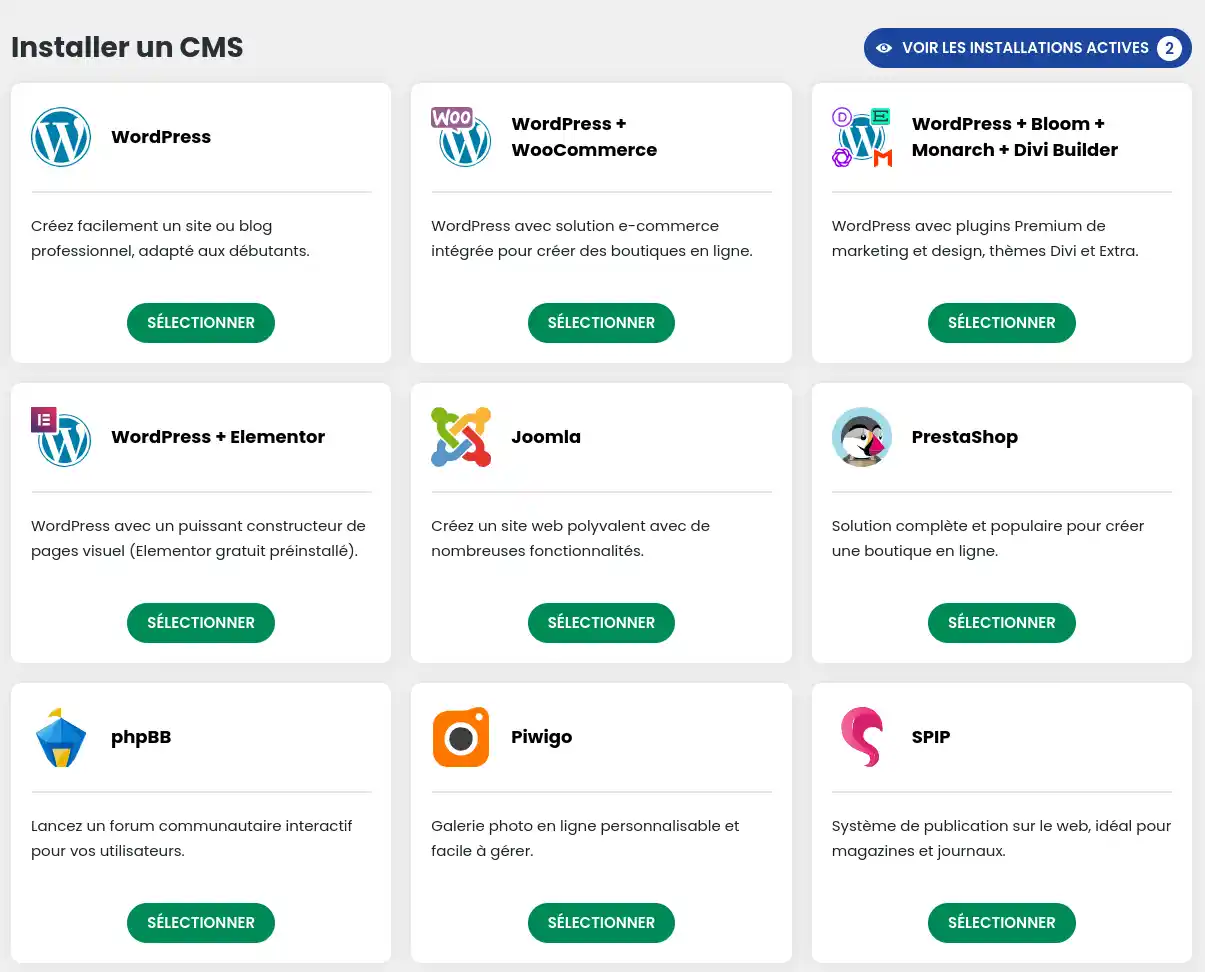
Before getting started, it's important to choose the CMS that best suits your needs. The LWS auto-installer offers a selection of popular CMS, such as WordPress, Joomla and Drupal. Each CMS has its own features and benefits, so it's a good idea to compare their characteristics to find the one that best suits your goals and skills.
15 CMS are available on the self-installer provided and are classified as follows:
Showcase site :
Courses and training :
Online shops :
Blog :
Page Parking/Maintenance :
Discussion forum :
Photo gallery :
Wiki :
Each CMS has its own characteristics and advantages, so it's important to choose the one that best suits your specific needs.
With the auto-installer available on the LWS Panel, you can also install the following two frameworks:
1. First, you need to connect to your LWS account and access the shared hosting for which you want to install a CMS.
2. Click on the"Auto-installer" button in the"Software" section.

3. Then select the CMS you wish to install.

4. enter the address at which your website will be accessible

From this form, you can select on which sub-domain the application will be installed (e.g. https://boutique.mondomaine.com), and from which domain it will be available if you are using the multi-domain feature. You can also specify a specific directory if you want to install several sites on the same domain (e.g. https://mondomaine.com/boutique).
Depending on the application you choose, you can configure various parameters such as the administrator account or the site name. For the WordPress CMS, you can also choose pre-installed plugins or themes.
5. Then enter the email address that will receive the connection parameters and click on the "Install" button.

6. The installation will take place...

... and you should receive confirmation once the installation is complete.

You now know how to :
We hope this article has been helpful in getting your web project off to a smooth and efficient start. Your online presence is about to take off in a new direction thanks to the LWS self-installer and the endless possibilities offered by CMSs. Many thanks for reading! 💡🙏
Feel free to share your experiences, questions or suggestions by leaving a comment below. We're always happy to share with our community and offer our help. Happy creating! 🚀✨
Rate this article :
3.1/5 | 9 opinion
This article was useful to you ?
Yes
No
1mn reading
How do I migrate a local WordPress site to my LWS shared hosting?
4mn reading
Install Laravel on LWS shared hosting in a few simple steps
1mn reading
How do I set up a shop on an Ecommerce package?
1mn reading
How do I install WordPress with the LWS auto-installer?
Bonjour,
Je vous remercie pour votre message.
Nous veillons à ce que l'auto-installeur soit régulièrement mis à jour afin de vous permettre d'installer simplement un CMS en quelques clics et sans rencontrer de problèmes. Cependant, malgré nos efforts, il est possible qu'un problème survienne.
Dans ce cas, je vous invite à contacter notre support technique afin qu'un agent technique prenne en charge le problème, vous apporte une solution et le remonte à notre équipe de développement pour corriger définitivement le problème rencontré. Lors de votre demande, je vous invite à transmettre au technicien le message d'erreur que vous rencontrez lors de l'installation.
Cordialement, L'équipe LWS
Bonjour,
Effectivement, la version de MediaWiki actuellement proposée sur notre installeur est la version 1.39. Notre équipe en charge de l'auto-installeur va prochainement mettre à jour cet outil pour proposer la dernière version stable, la version 1.42.
Toutefois, MediaWiki permet une mise à jour directe de la version 1.39 vers la version 1.42 qui devrait pouvoir vous permettre de bénéficier de la dernière version du CMS facilement sans passer par des versions intermédiaires.
https://www.mediawiki.org/wiki/Manual:Upgrading/fr
Cordialement, L'équipe LWS
Bonjour,
Je vous remercie pour votre message.
Pour publier votre site créé avec Dreamweaver sur votre hébergement LWS, je vous invite à contacter notre service technique. Un technicien pourra vous guider dans les étapes nécessaires pour transférer vos fichiers et mettre votre site en ligne.
N'hésitez pas à nous solliciter !
Cordialement
Bonjour,
Je vous remercie pour votre message.
Effectivement, Dolibarr n’est pas disponible dans notre auto-installeur. Si vous souhaitez le déployer, il sera nécessaire d’effectuer une installation manuelle. Vous pouvez pour cela télécharger le CMS depuis le site officiel de Dolibarr, puis l’envoyer sur votre hébergement via FTP et procéder à la configuration.
N’hésitez pas à revenir vers nous si vous avez besoin d’assistance dans les étapes techniques générales (base de données, accès FTP, etc.).
Cordialement, L'équipe LWS
Bonjour Monsieur,
Je vous remercie pour votre message.
Malheureusement, les données présentes sur cette aide en ligne ne me permettent pas de vous identifier.
Les manipulations dépendent de la formule souscrite, et de votre nom de domaine (à savoir si LWS est votre registrar, etc).
Je vous invite à ouvrir un ticket technique auprès de notre support, un spécialiste vous aidera à réaliser les démarches demandées : https://aide.lws.fr/a/268
Vous pouvez également nous contacter depuis votre espace client ou sur cette page : https://www.lws.fr/contact.
Cordialement,
L'équipe LWS