Rate this article :
3/5 | 2 opinion
This article was useful to you ?
Yes
No
Vous avez noté 0 étoile(s)
Sommaire
Procédure
Welcome to this guide designed to show you how to view your site before changing the DNS when transferring a domain to LWS or waiting for your domain to be activated.
Many tutorials suggest modifying the hosts file on your PC or Mac. However, this method is now considered complex, time-consuming and obsolete.
We suggest a simpler approach: simply add an extension to your browser. Find out how to use the LiveHosts extension to bypass editing of the hosts file. This will ensure a smooth, uninterrupted transition for your visitors.
LiveHosts is an extension that replaces the need to modify your hosts file. Instead of digging through your computer's system files to find and modify the host file, LiveHosts is an alternative that lets you do this directly from your browser.
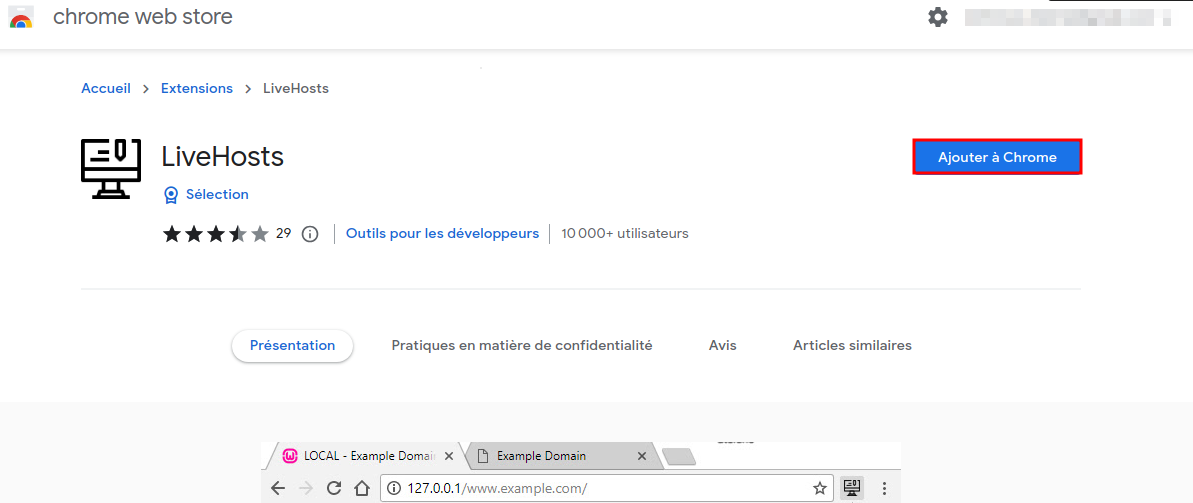
To install LiveHosts, you first need to go to the LiveHosts installation page on the Chrome Web Store and click on "Add to Chrome".
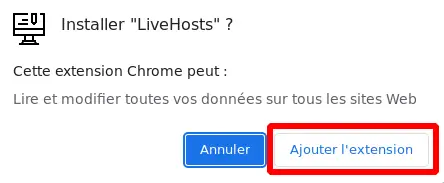
A small window will then open notifying you of the access requirements for the extension, and you'll need to click on "Add extension".
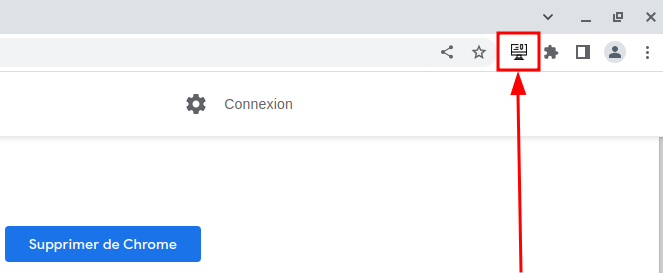
Once the installation is complete, you'll see a new icon in your browser's toolbar. This is the LiveHosts icon.
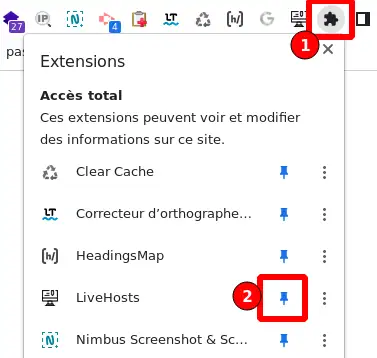
If the icon is not visible, this means that it is in the Google extension icon (1). To put it in the bar, you will need to pin the extension (2).
The LiveHosts extension for Firefox is the same extension as for Chrome.
To install LiveHosts, you first need to go to the LiveHosts installation page on the Firefox Browser ADD-ONS and click on "Add to Firefox".
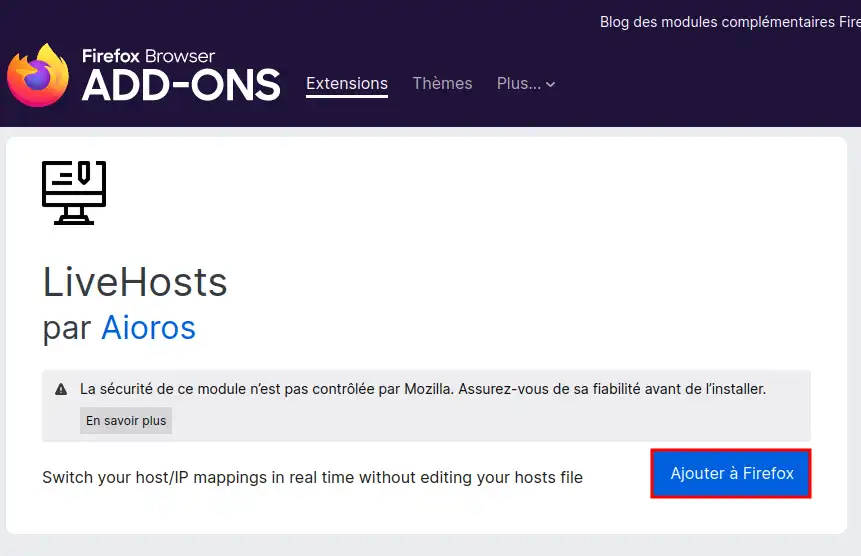
A small window will then open notifying you of the extension's access rights, and you will need to click on "Add".
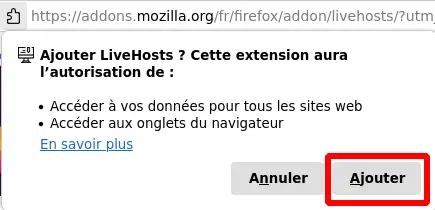
Another window will open in your browser's toolbar and you will need to click on " OK".
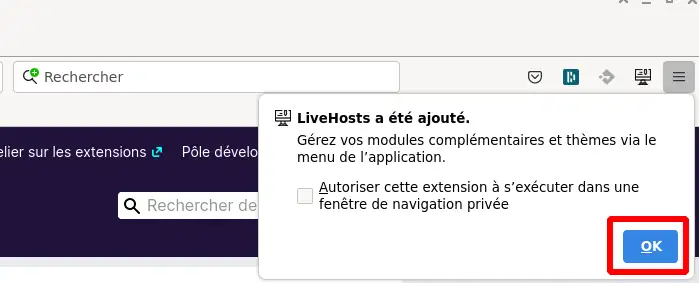
Once the installation is complete, you'll see a new icon in your browser's toolbar. This is the LiveHosts icon.
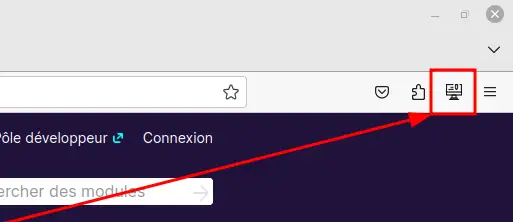
Once the extension has been installed, we can start using it. Handling the extension will be the same on Firefox and Google Chrome.
First of all, click on the LiveHosts icon in your browser toolbar.
Next, you need to set your domain name in the "Hostname" box (1), and set the IP of your LWS web server in the "IP" box(2) and finally click on the "Add" button (3) and then on "Save".

Now, when you access your site, you will be redirected to your new LWS host, allowing you to preview your site before changing the DNS. This is a step to ensure that everything works as expected on the new host before making the final change.
As we saw just before, we're going to create a new rule with the LiveHosts extension. Here's my site before creating the rule.

Next, we create a LiveHosts rule by taking the domain name of my site (1), entering the IP of the Web server where I want to migrate my site (2 ) and confirming by clicking on "Add" (3).

Once the rule has been created, we refresh the page and voilà, the rule works fine, the browser thinks that the domain has this IP that we've set up.

Don't forget to delete the LiveHosts rule once you've finished migrating your site and you're ready to change the DNS.
To do this, go to the LiveHosts icon once again, and you'll find the last LiveHosts rule you set up.
Click on the little cross (circled in red) to delete the rule and then click on "Save" to save the change.
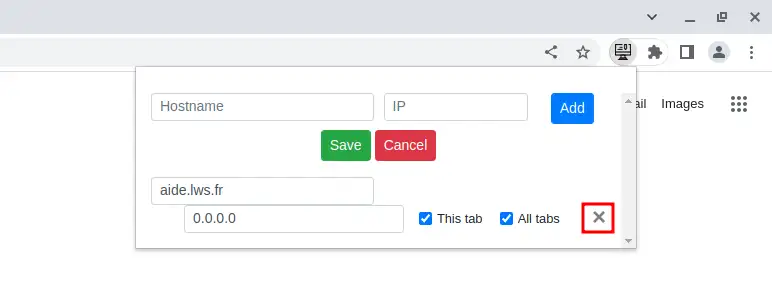
The LiveHosts rule has now been deleted, so when you go to your domain, you'll be directed to the site that currently manages your domain!
By using the LiveHosts extension, you can easily preview your site on your new LWS host before changing the DNS. This allows you to make sure that everything is working properly before taking the plunge. This preview stage is essential to avoid any unpleasant surprises after the transfer. Don't forget to delete the LiveHosts rules once you've finished to avoid any confusion. With these steps, you can manage your transition to LWS efficiently. Don't forget, LWS customer service is always on hand if you run into any problems or have any further questions.
Rate this article :
3/5 | 2 opinion
This article was useful to you ?
Yes
No
6mn reading
How do I transfer my domain name to LWS?
1mn reading
How do I retrieve the transfer code for an LWS domain?
1mn reading
How to retrieve the transfer code for an OVH domain
1mn reading
How to recover the transfer code for an IONOS domain