Rate this article :
This article was useful to you ?
Yes
No
Vous avez noté 0 étoile(s)
Sommaire
Procédure
In this documentation, we will look in detail at the different methods and tools available for importing data into Outlook, as well as exporting data from Outlook to other destinations or for backup. Whether you want to migrate to a new instance of Outlook or need to back up your critical information, this documentation will guide you through the process step-by-step, with clear explanations and practical advice to optimise your user experience.
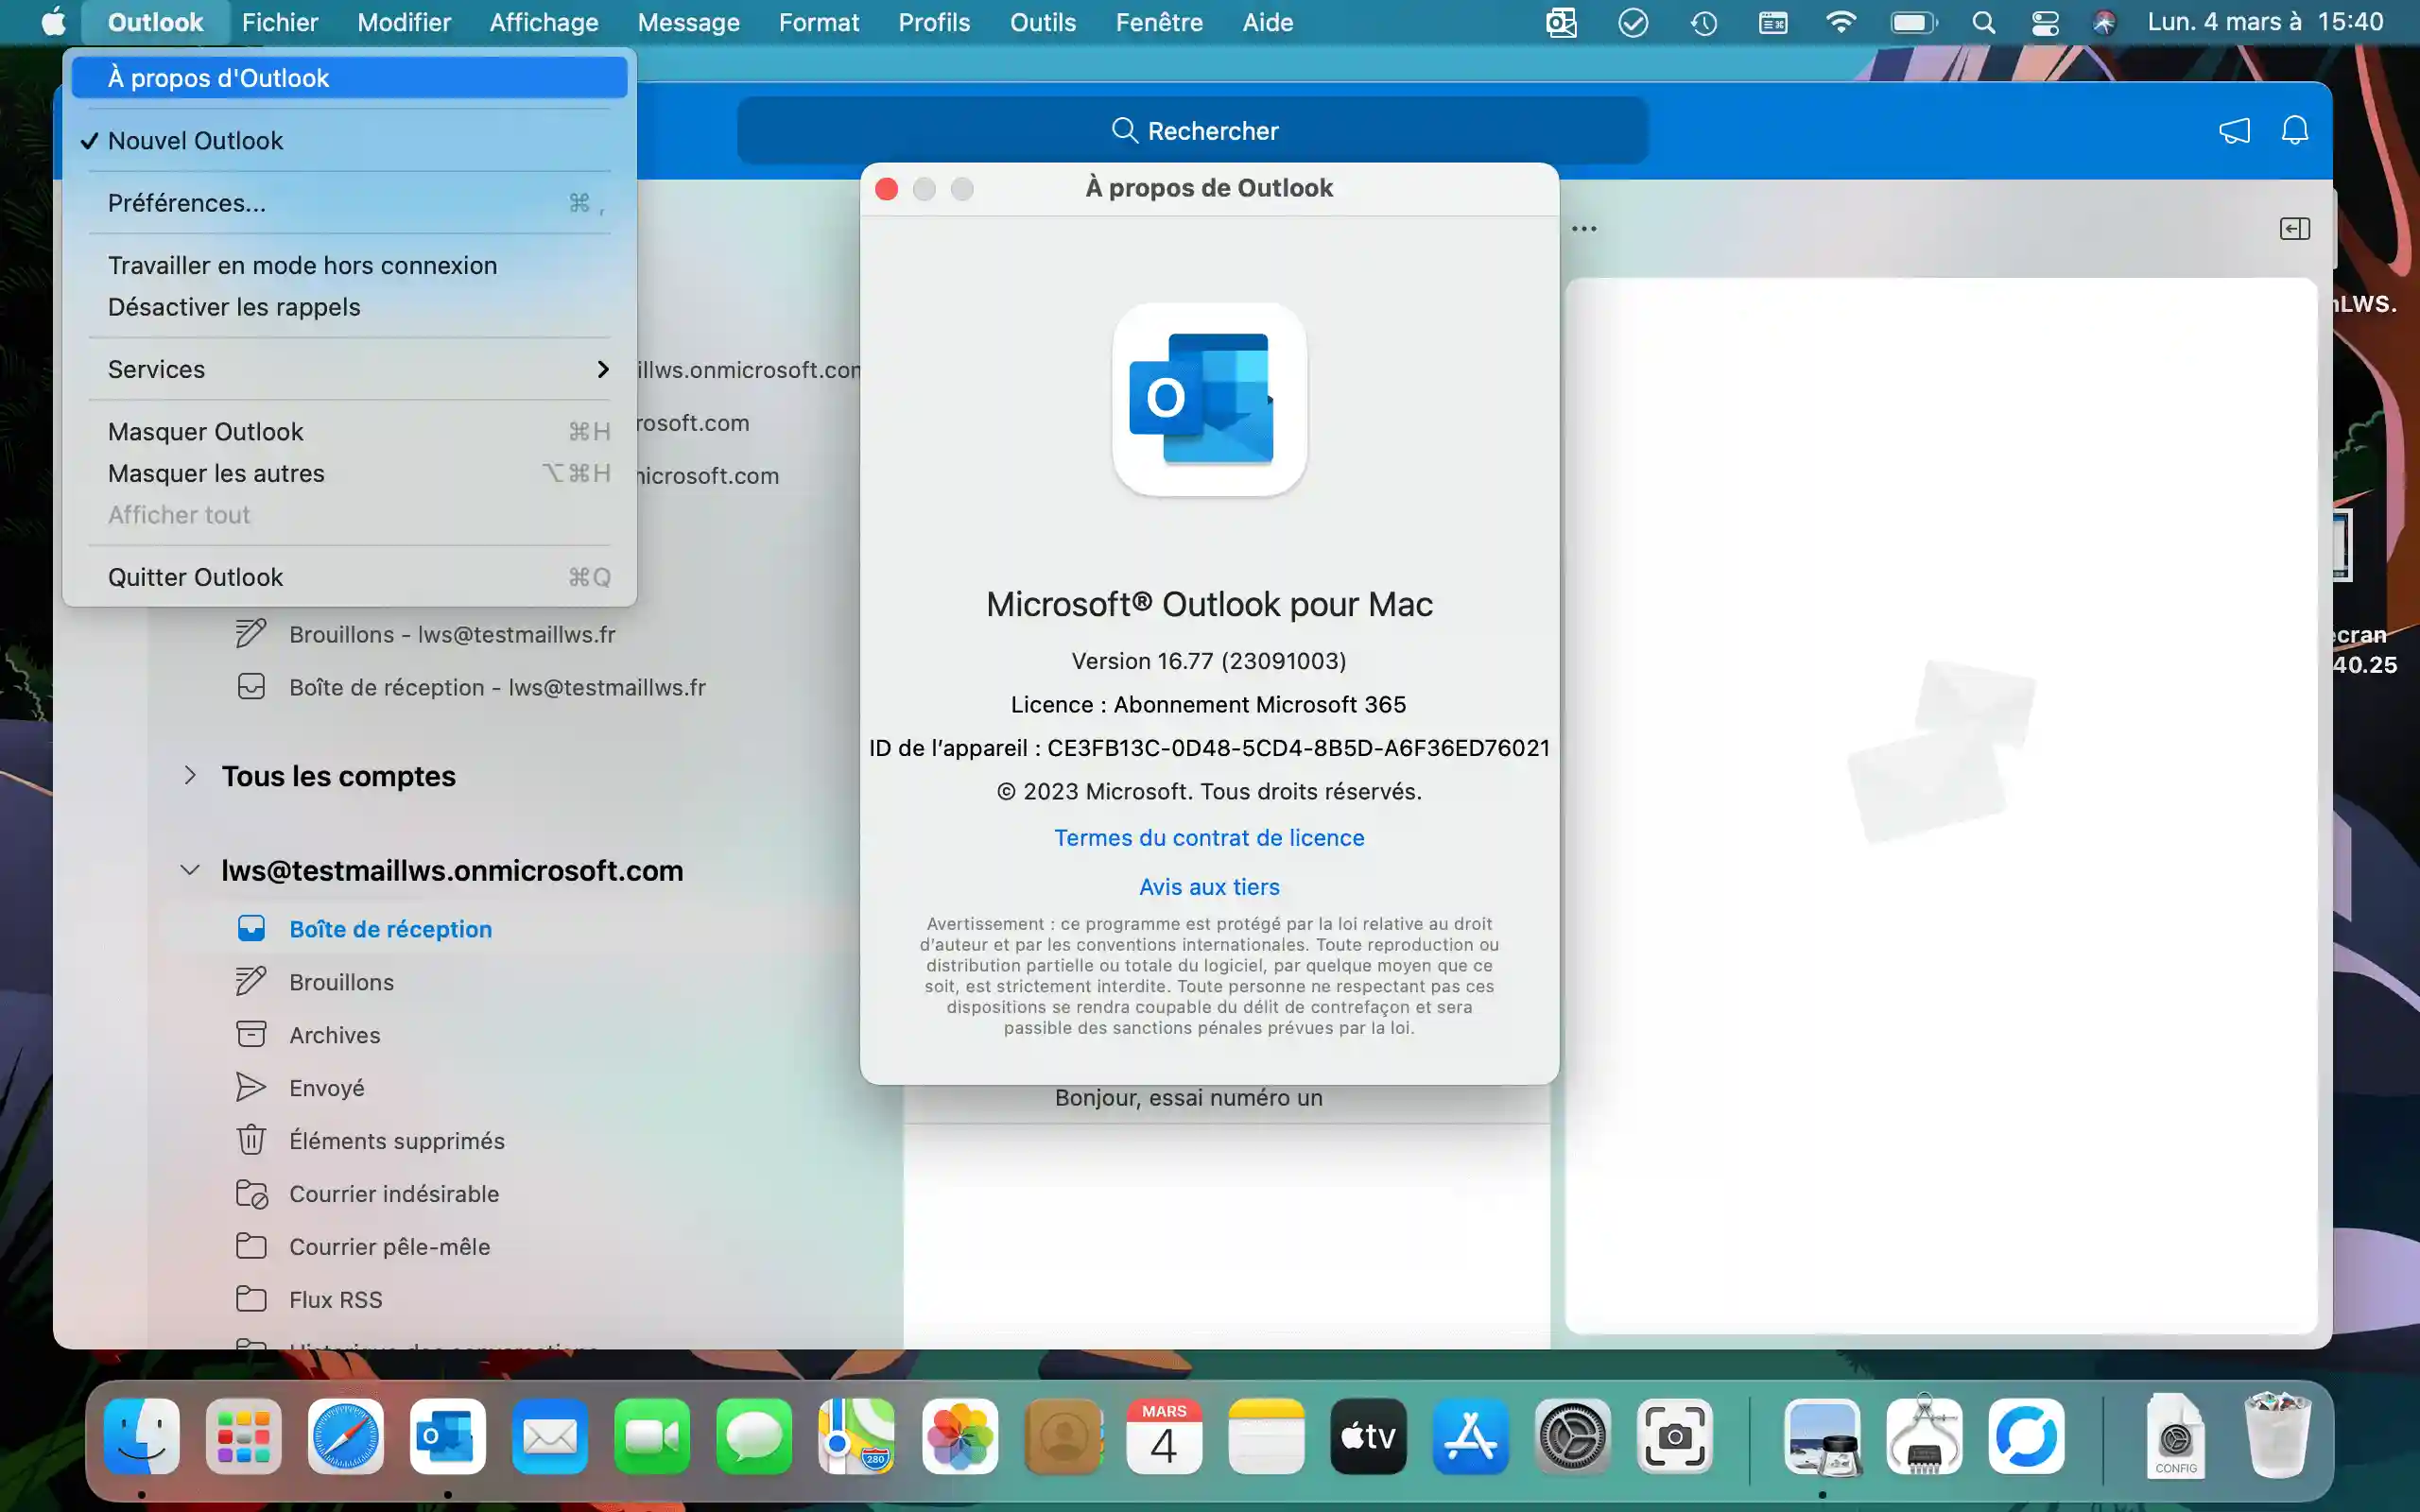
To check which version of Outlook you have, follow these steps :

There are two types of version on macOS, a legacy version (the one we're looking for) and a new version that doesn't have the features we need for our import/export.
To do this, follow these steps:
1. Go to: "Outlook ⇾ New Outlook", here you need to check that this line is not ticked, if it is Click on it

2. In the new window, click on "Reset".

3. The new interface should look like this. If yours does, then everything has gone according to plan.

[
We can now start exporting our data. To begin, I invite you to go to the Outlook application. We'll be able to export contacts as well as emails.
[
Trucs et astuces
If you want to continue working without disruption and you have a second computer at your disposal, we recommend that you use it, moreover with a connection-sharing mobile phone to avoid any interruptions to the process, if your mobile package allows you a significant amount of data, of course. Depending on the volume of data to be exported, you can also opt to export at night or at weekends if you don't have to work
Once you've taken these factors into account, I suggest you follow these steps
1. Click on "File" then "Export".

2. In the new window, tick "Mail" and "Contacts".

3. Once the items have been selected, click on "Continue".
4. In the new window with several fields, type the name of the file in "Save as" then select "Where", select your directory then click "Save".

5. A new window will open showing the export in progress. You will need to wait for the export to complete. Once completed, a message with a tick and the text "Your data has been exported" will appear, simply confirm with "Finish".
We're now going to carry out the steps involved in importing to another Outlook or another address in the same Outlook.
To begin, go to the Outlook application and follow these steps:
1. Click on "File" ⇾ "Import" and select "Outlook archive file for Mac (.olm)" then confirm with "Continue".


2. In the new window, you will need to target the file previously exported and click on "Import".

3. A progress window will appear; you will need to be patient depending on the volume of data to be imported, so it is important not to interrupt this process.

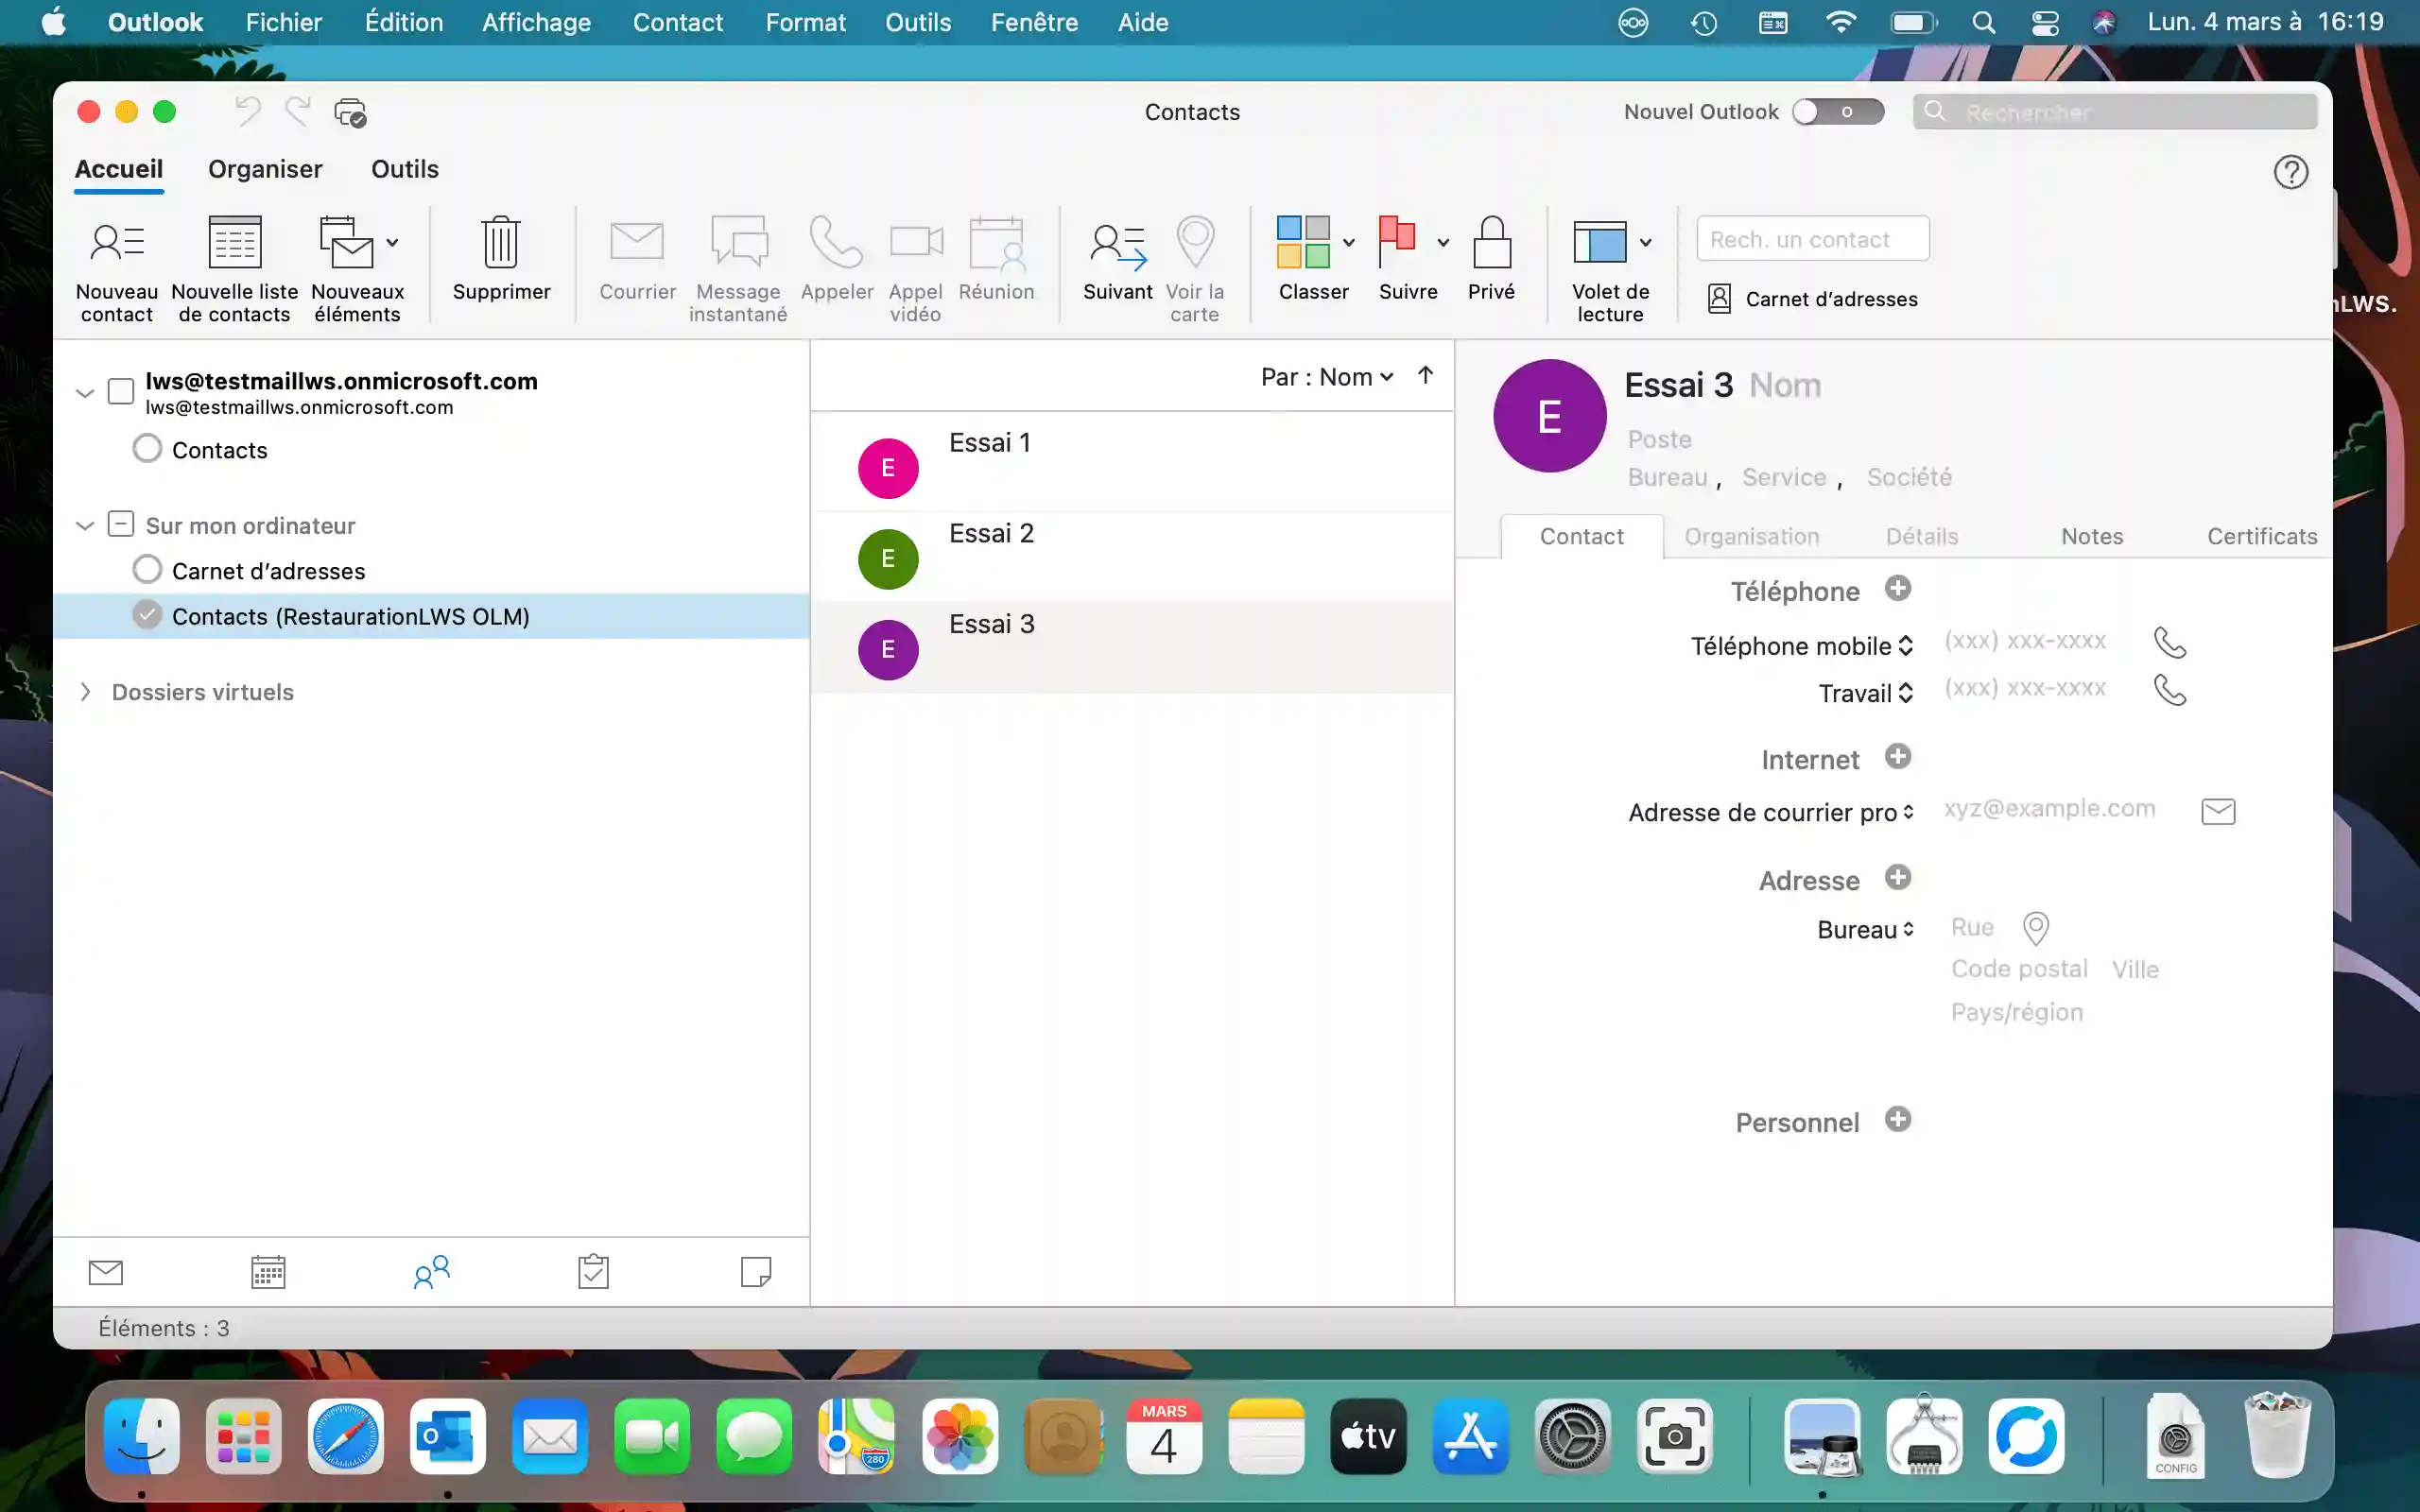
4. Once the import is complete, click on "Finish" and you should have a new folder in the "On my computer" tab, in this case "RestoreLWS OLM".


5. Delete the address folders not affected by the import if you don't want to keep duplicate or useless data.

6. Now copy the necessary data present locally on your Mac to the email address so that the data can synchronise with the server.

7. In the search field, enter: "INBOX" then select the email address concerned in this format: nom@domaine.ext/INBOX. Then press "Copy" to confirm.

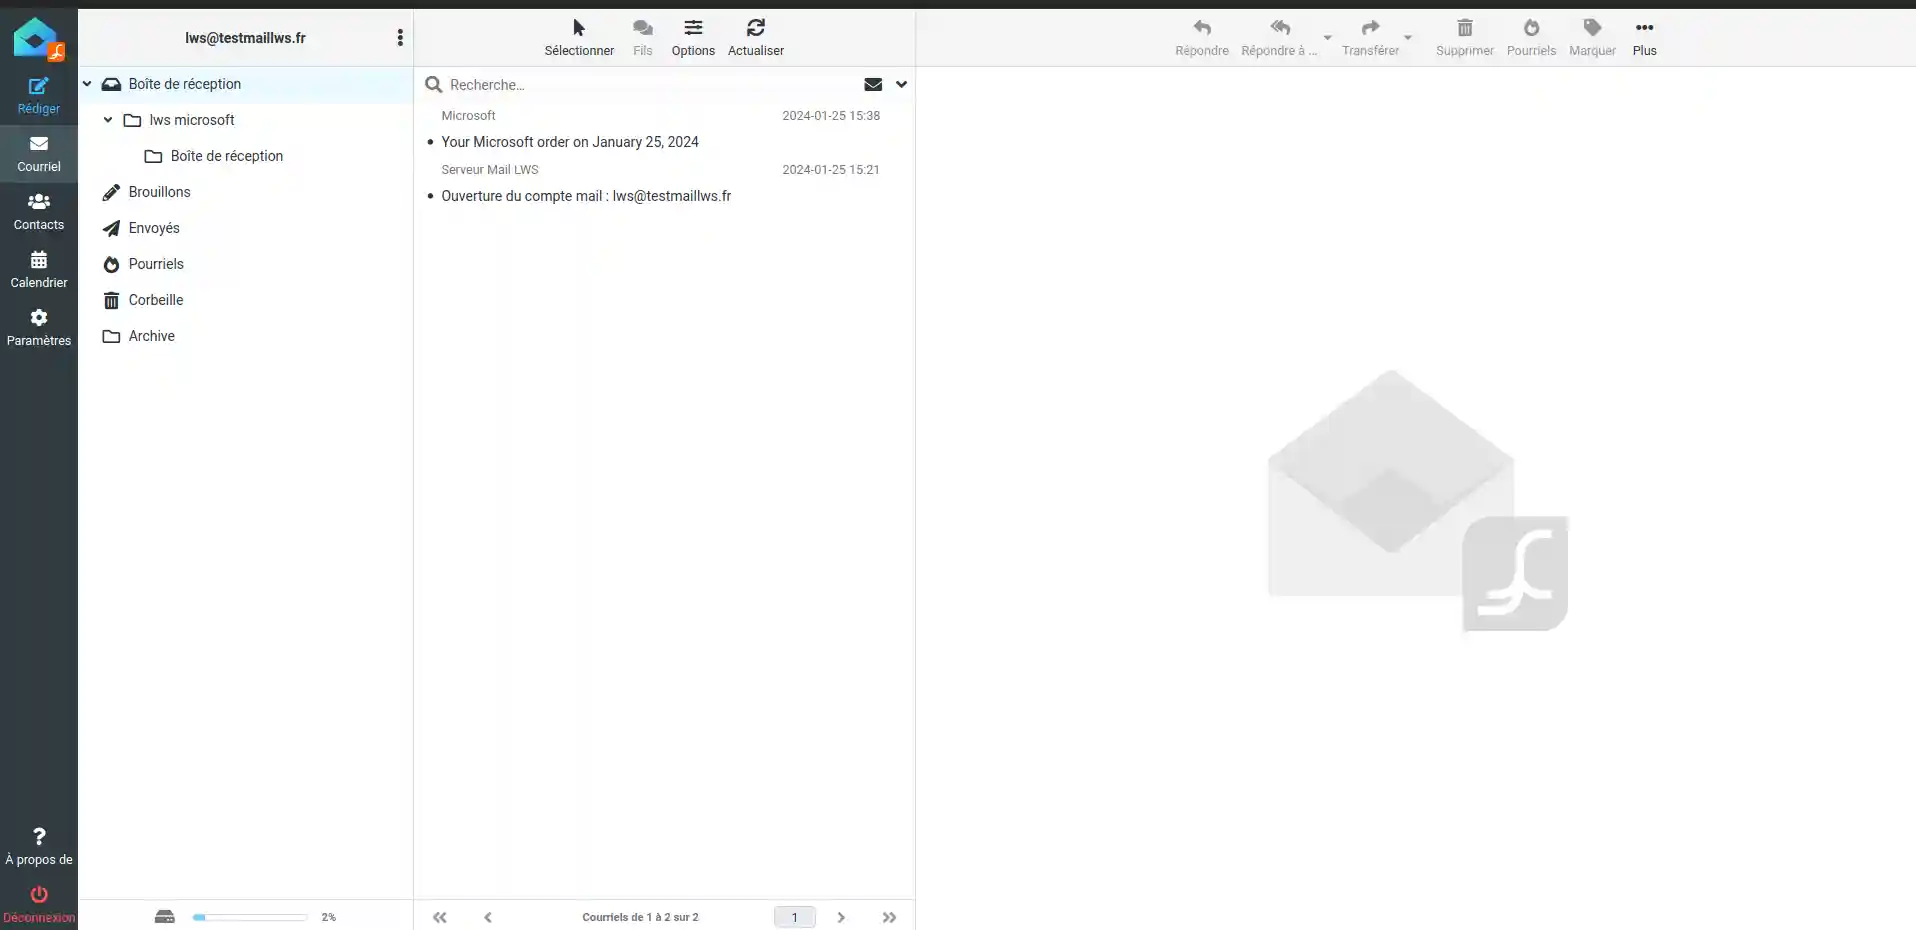
8. We'll check that the data has been copied correctly to the server by connecting to Roundcube webmail, and we'll see that the data has been transferred.

9. Your contacts will also be available in the "On my computer" section under "Contact". Unfortunately, you won't be able to import them to your email address using this method for the time being.

In conclusion, this comprehensive guide to importing and exporting data on Outlook for macOS offers a clear and detailed approach to the processes involved in efficiently migrating or backing up your vital information. Through step-by-step instructions and practical advice, this document covers everything from checking your Outlook version to handling exported and imported files.
Rate this article :
This article was useful to you ?
Yes
No
1mn reading
How do I configure Outlook?
0mn reading
How do I configure Thunderbird?
0mn reading
How do I configure an email address on an iphone / ipad?
0mn reading
How to configure an email address on Android